
Restaurant-Style Garlic Fried Rice With a Secret
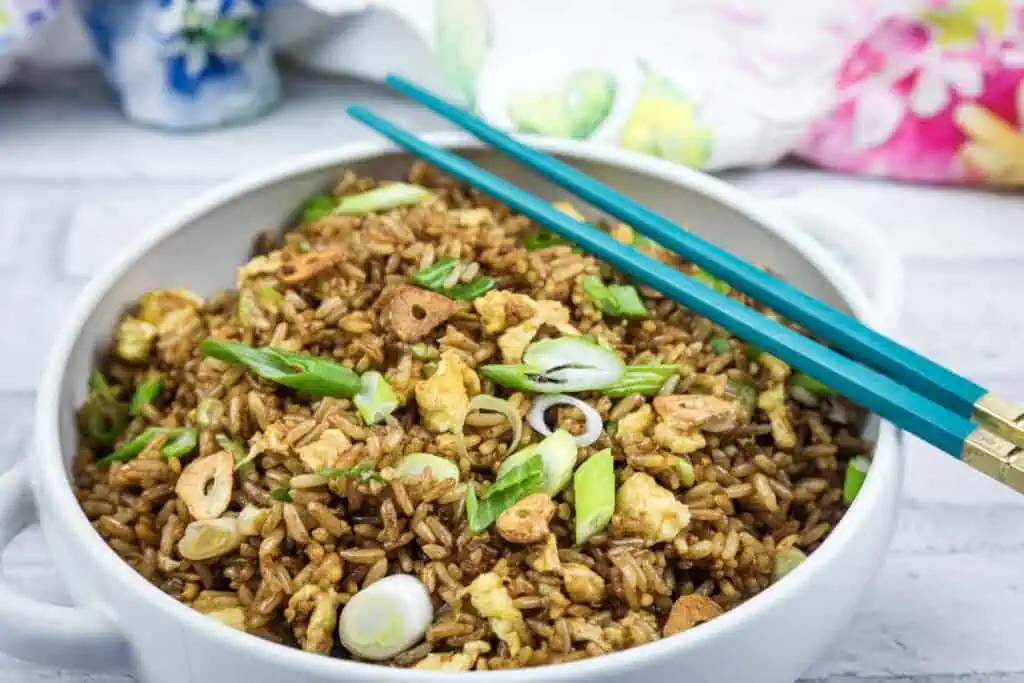
Restaurant-style garlic fried rice is the dish I make when I want something that tastes like takeout but is actually better. The secret isn’t a secret ingredient. It’s using garlic twice, in two different ways, in the same pan.
This post may contain affiliate link(s). As an Amazon Associate, I earn from qualifying purchases. See Disclosure.
Most home versions of garlic fried rice taste like rice with garlic powder sprinkled over it. Mine doesn’t. Half the garlic gets fried until crispy and golden and goes on top as a finishing crunch. The other half gets minced fine and cooked in oil at the end, where it perfumes the whole pan without burning. Two textures, two flavor moments, one bowl.
31 of Chef Jenn's FAVE Casseroles
I've gathered 31 of my favorite casseroles for you and your family to love, all in a convenient ebook with no ads and no AI! Each of these scratch-made dishes is created, tested, and loved by Chef Jenn. Get your instant download now!

You'll get ad-free recipes like:
Spaghetti Casserole,
Sloppy Joe Casserole,
Cowboy Casserole,
and more!

This is a digital product. You'll receive an instant download link after purchase.
I serve this as a quick lunch, a side for grilled meats, or the whole dinner when I don’t feel like thinking. Day-old rice is non-negotiable. Fresh rice will steam itself into mush and you’ll be sad.
Chef Jenn’s Take on Restaurant-Style Garlic Fried Rice
Most garlic fried rice recipes online tell you to throw raw garlic in with everything else and stir. The result is rice that tastes vaguely of garlic and looks gray. I don’t bother with that version anymore.
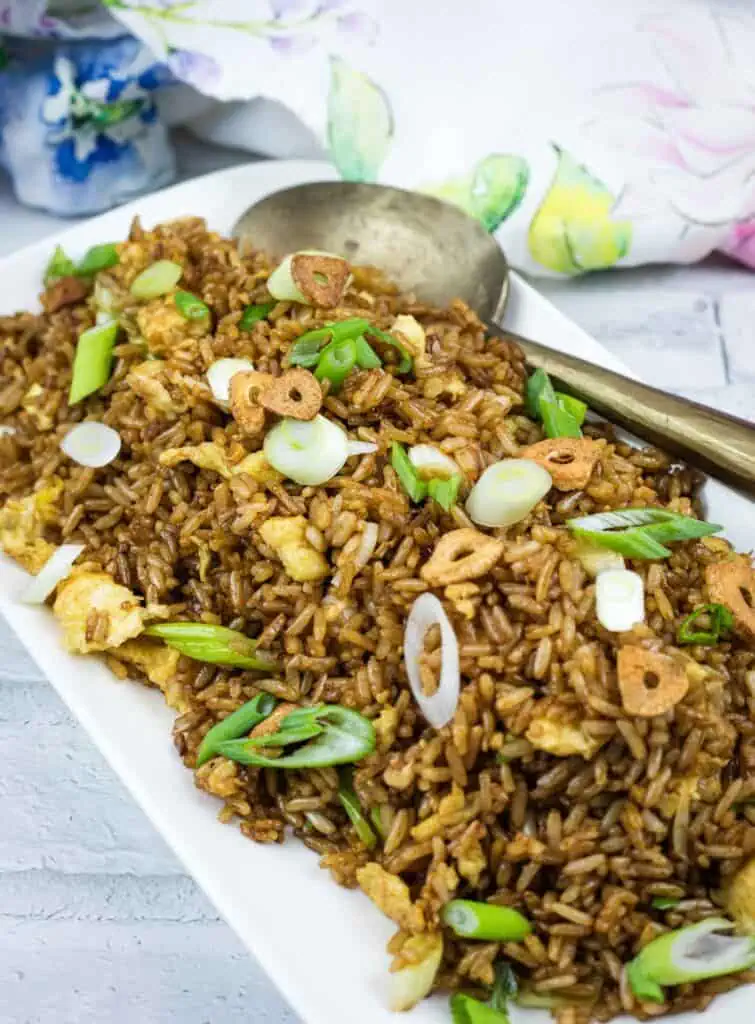
The two-garlic method is what separates the home cook version from the version you’d actually order. Half goes in first, sliced, and fries in oil until it’s golden and crisp. You pull it out and reserve it for the top. The other half goes in at the end, minced, and cooks for thirty seconds in a clear spot in the pan until it’s fragrant and just barely turning. The first garlic gives you crunch and that nutty, almost popcorn-like aroma. The second gives you that hit of fresh garlic flavor that wakes the whole bowl up.
The other thig worth knowing: get the pan smoking before the rice goes in. That’s where the wok hei (smoky restaurant flavor) comes from. A lukewarm pan will never give you this.
What You’ll Love About Restaurant-Style Garlic Fried Rice
- Two kinds of garlic in one bowl, crispy on top and aromatic through the rice. This is the move that takes it from home cooking to the version you’d actually pay for.
- Fifteen minutes from cold rice to plate, assuming you’ve got day-old rice in the fridge. I cook extra rice on purpose just so I have leftovers for this.
- Genuinely a meal on its own, served with the eggs and crispy garlic. No protein required, though it absolutely takes one if you want.
Ingredients
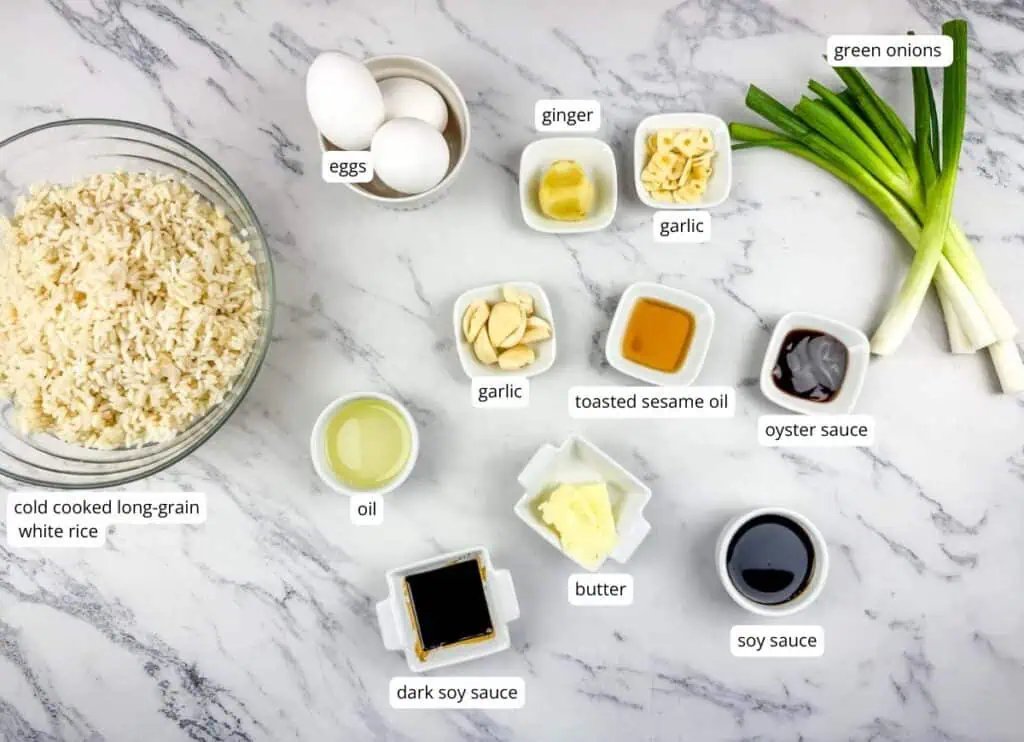
- Cold cooked long-grain white rice – Day-old is the minimum, two days is better. Jasmine if you can get it, the grain stays separate when you fry it. Fresh-cooked rice steams instead of frying, and you’ll end up with sticky clumps.
- Garlic – Fresh cloves only, not the jarred minced stuff. You need half sliced for the crispy garnish and half minced fine for the aromatic finish. Don’t use a press here, the texture matters.
- Fresh ginger – Grate it on a microplane or mince it very fine. Skip the powdered or jarred kind, the flavor isn’t close.
- Green onions – Separate the white and green parts before cooking. Whites go in with the aromatics, greens go in at the end and on top.
- Eggs – Three large. Beat them with a pinch of salt before they hit the pan so they cook evenly.
- Neutral oil – Avocado, peanut, or any high-smoke-point oil. Save the olive oil for salads, it’ll burn at the temperatures you need here.
- Salted butter – One tablespoon, optional but worth it. Adds a richness that bare oil can’t.
- Soy sauce – Regular, not low-sodium. Low-sodium changes the flavor balance and you’ll be tempted to oversalt.
- Dark soy sauce – Optional, but it’s what gives restaurant fried rice that deep amber color. Without it, your rice will look pale. If you can find it at an Asian grocery, grab a bottle, it lasts forever.
- Oyster sauce – For depth and a savory edge that soy sauce alone won’t give you. Vegetarian? Mushroom-based versions work as a swap.
- Toasted sesame oil – Goes in at the very end, off the heat. Cooking it kills the flavor you bought it for.
- White pepper – Standard for Chinese cooking. Sharper and more aromatic than black pepper. If you only have black, use it, but white is worth tracking down.
How To Make Restaurant-Style Garlic Fried Rice
Scroll down for the full recipe card with exact measurements and printable instructions.
Heat one tablespoon of oil in a large skillet or wok over medium heat. Add the sliced garlic and cook, stirring constantly, until it’s golden and crispy. Watch it. Garlic goes from golden to burnt in about ten seconds, and burnt garlic will ruin the bowl. Pull it out with a slotted spoon and drain on a paper towel.
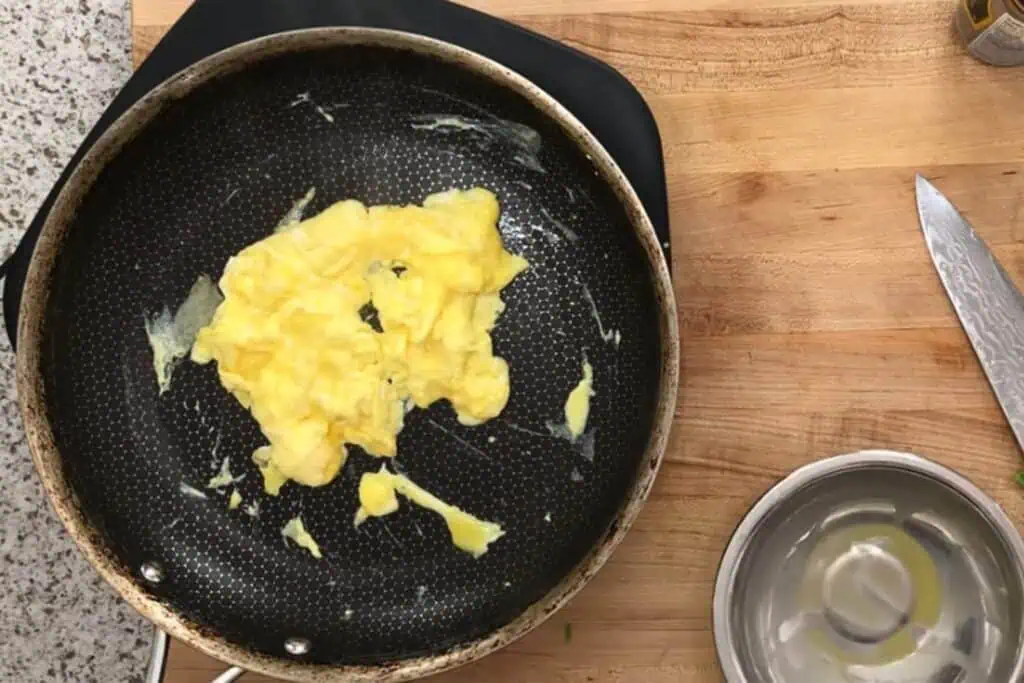
Wipe the pan if any garlic bits are stuck, then add a splash more oil and scramble the eggs over medium heat until they’re just softly set. Take them out, break them into smaller pieces, and set aside.
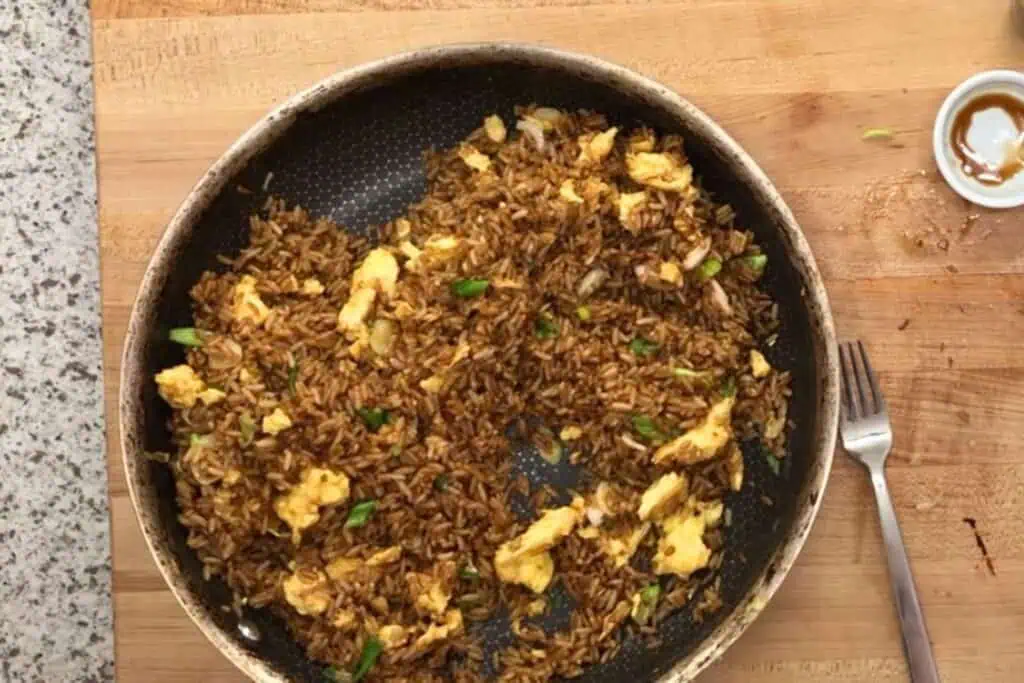
Add the remaining oil to the pan and crank the heat to high. Wait for it to start shimmering and almost smoke. Add the cold rice in one mound, then press it down against the surface with a spatula. Let it sit, undisturbed, for two to three minutes. This is where the bottom crust forms. Don’t fidget with it.
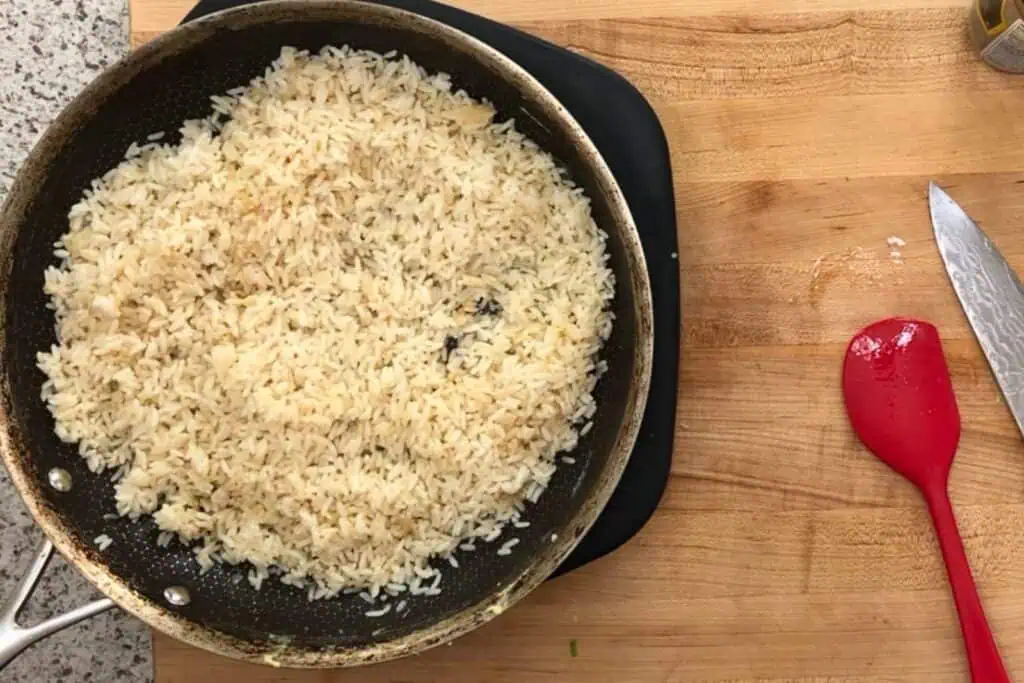
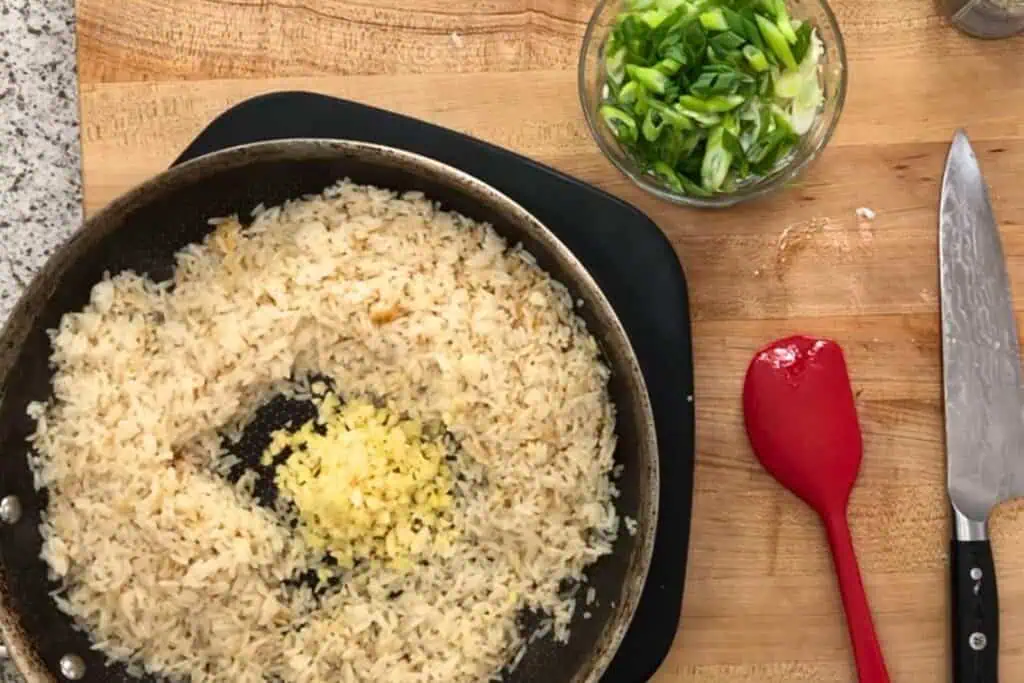
Stir and break up the rice, then push it to the sides to make a well in the center. Add the minced garlic, ginger, and white parts of the green onions to the well with a small splash of oil. Cook for thirty seconds until fragrant, then stir everything together.
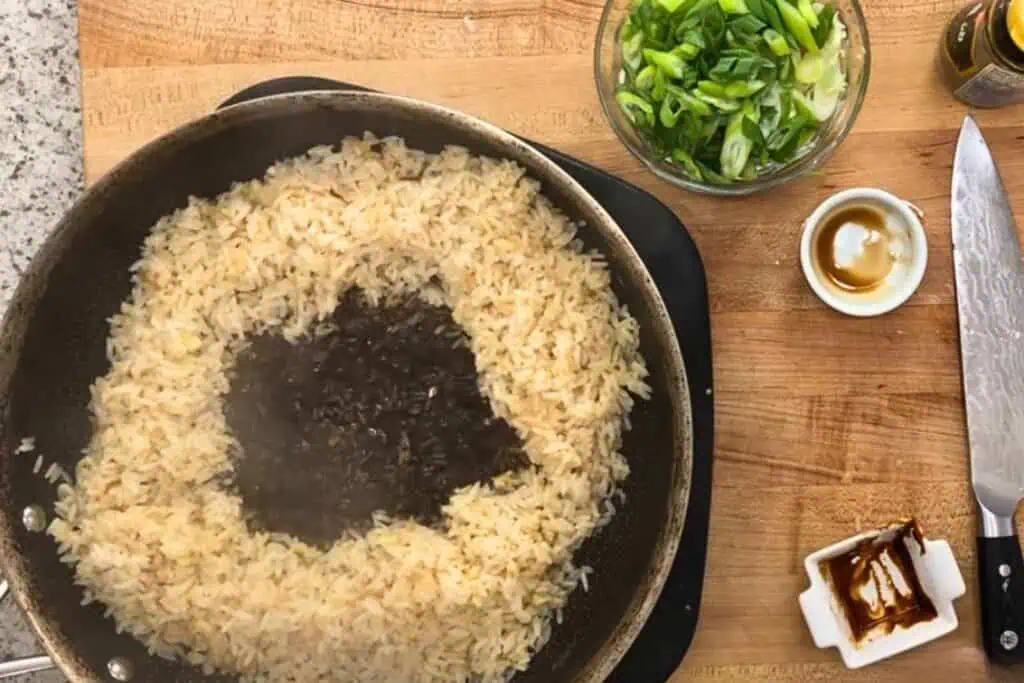
Push the rice aside again, make a new well, and pour in the soy sauce, dark soy if using, oyster sauce, and sesame oil. Let it bubble and reduce for about thirty seconds, then stir it through the rice. The dark color should spread across the grains.
Add the butter, the green parts of the onions, and the scrambled egg back to the pan. Toss everything together, taste, and add salt and white pepper as needed.
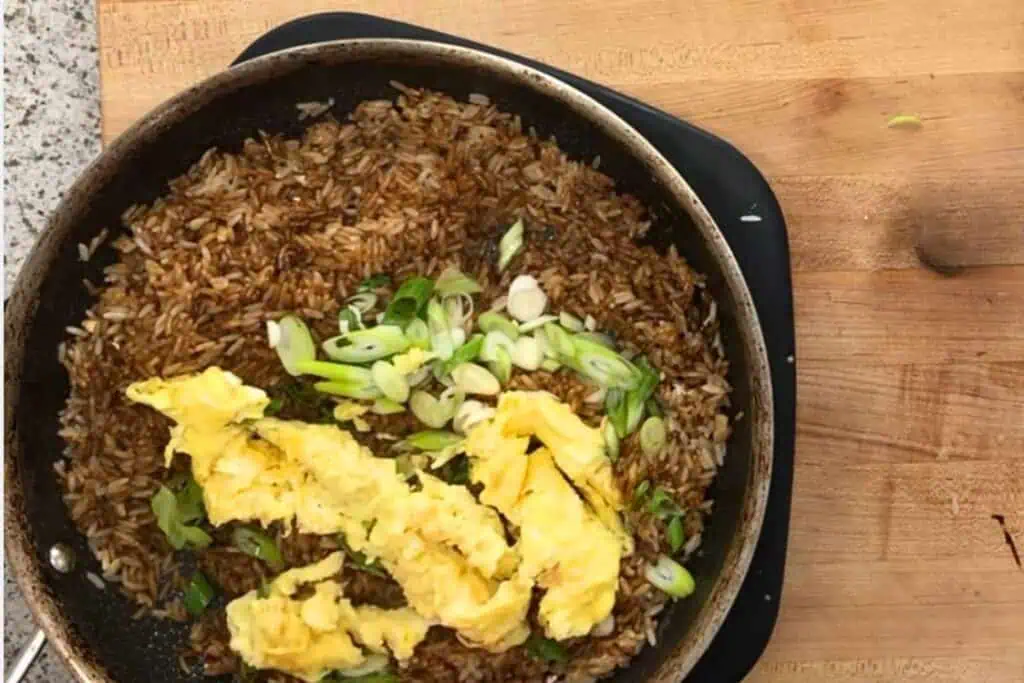
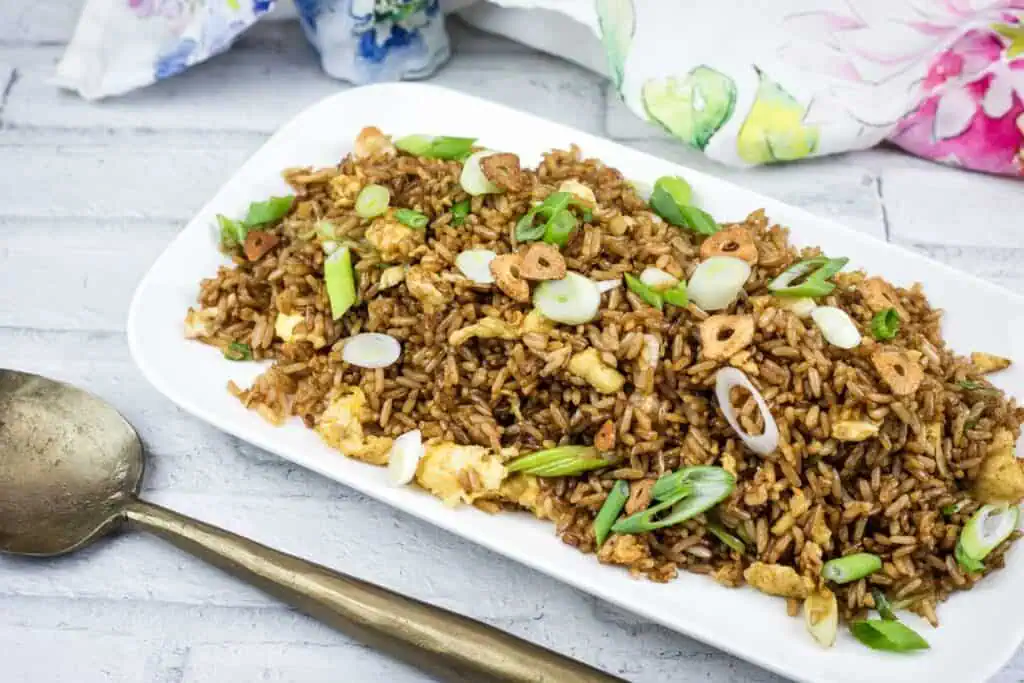
Plate immediately, top with the crispy garlic and a final sprinkle of green onion, and serve hot. Fried rice waits for no one.
Make It A Meal
This is a meal on its own with the eggs, but it makes a great base for almost anything saucy. I serve it under Air Fryer Honey Garlic Chicken Thighs all the time, the sweet garlicky sauce soaks into the rice and turns it into a full plate.
For a bigger spread, I’ll pair it with my Classic Asian Noodle Salad with Ginger-Sesame Dressing on the side, or do this alongside Garlic Shrimp Scampi if I want a double dose of garlic. If you’ve got leftover rotisserie chicken, my Chicken Fried Rice is the natural sibling to this dish and uses a similar method.
Storage
Store cooled fried rice in an airtight container in the fridge for up to 3 days. Reheat in a hot skillet with a splash of oil, not the microwave, to bring back some of the crisp. I don’t recommend freezing it, the texture goes mealy on thaw.
Frequently Asked Questions
Day-old rice has had time to dry out in the fridge, which is what lets it fry instead of steam. Fresh rice carries too much moisture and turns to mush when it hits the hot pan. If you have to use same-day rice, spread it on a sheet pan and stick it uncovered in the fridge for at least an hour first.
Yes. Swap the soy sauce for tamari and skip or substitute the oyster sauce with a gluten-free oyster sauce or mushroom-based stir-fry sauce. The flavor will be very close.
Long-grain jasmine is ideal because the grains stay separate. Regular long-grain white works fine. Avoid short-grain or sticky rice, the grains clump and won’t fry up properly.
Absolutely. Diced cooked chicken, shrimp, ham, or leftover steak all work. Add them in at the end when you’re folding everything together so they just heat through and don’t dry out.
Restaurant-Style Garlic Fried Rice
Ingredients
- 4 cups cold cooked long-grain white rice jasmine ideal, at least 1 day old
- 5–6 cloves garlic half minced, half sliced
- 2 tablespoons fresh ginger minced
- 4 green onions white and green parts separated, both thinly sliced
- 3 large eggs beaten with a pinch of salt
- 3 tablespoons neutral oil avocado, peanut, or vegetable, divided
- 1 tablespoon salted butter
- 2–3 tablespoons soy sauce regular, not low-sodium
- 1 tablespoon dark soy sauce optional, for color
- 2 teaspoons oyster sauce
- 1 teaspoon toasted sesame oil
- ½ teaspoon white pepper or black if you don’t have it
- salt to taste at the end
Instructions
- Heat 1 tablespoon of the oil in a large skillet over medium heat.
- Add the sliced garlic and cook, stirring constantly, until golden and crispy. Remove with a slotted spoon and drain on a paper towel. Reserve for garnish.
- Add a splash more oil and scramble the eggs until softly set. Remove and set aside.
- Add the remaining oil to the pan and heat over high heat until almost smoking. Add the cold rice, press it down against the surface, and cook undisturbed for 2–3 minutes to brown the bottom.
- Stir the rice and push it to the sides to make a well. Add the minced garlic, ginger, and white parts of the green onions. Cook for 30 seconds until fragrant, then stir into the rice and cook for 2–3 more minutes.
- Push the rice aside again and add the soy sauce, dark soy sauce, oyster sauce, and sesame oil to the well. Let it reduce for 30 seconds, then stir it into the rice.
- Add the butter, green parts of the onions, and scrambled egg. Toss to combine and heat through.
- Season with salt and white pepper to taste. Plate, top with the reserved crispy garlic and a sprinkle of green onion, and serve immediately.
Notes
Recipe Card Tips
- Slice the garlic for the crispy garnish thin and even, and stir constantly while it fries. The window between golden and burnt is maybe ten seconds, and burnt garlic tastes bitter through the whole dish.
- The pan has to be almost smoking when the rice goes in. A lukewarm pan steams the rice instead of frying it, and you’ll lose the bottom crust that makes this taste restaurant-style.
- Pour the soy sauce into a clear well in the pan, not over the rice. Let it bubble and reduce for thirty seconds before stirring it through. This caramelizes the sauce and spreads the color evenly instead of leaving wet, salty patches.
Nutrition
A Note on Nutritional Information
Nutritional information for this recipe is provided as a courtesy and is calculated based on available online ingredient information. It is only an approximate value. The accuracy of the nutritional information for any recipe on this site cannot be guaranteed.