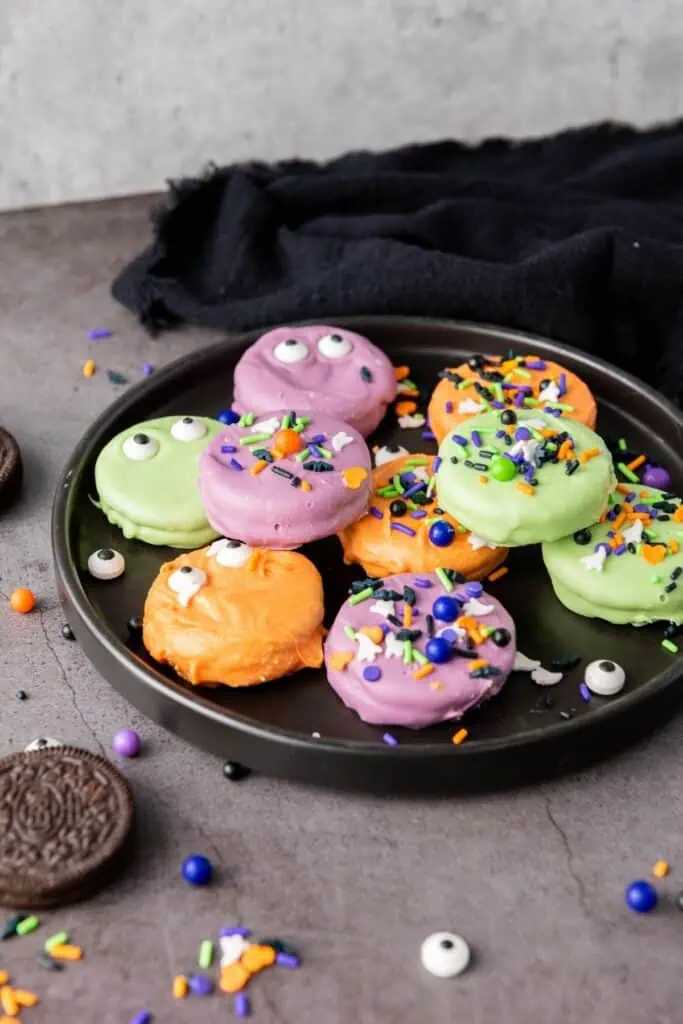
Spooky Oreo Treats
Once Halloween season kicks in, I’m looking for treats that come together fast but still bring the fun. These Spooky Oreo Treats are exactly that. No baking, no piping bags, and no long ingredient list. Just candy melts, sprinkles, and Oreos doing their spooky thing. They come together fast, which makes them perfect for classroom snacks, bake sales, or a rainy-day kitchen project with the kids.

This post may contain affiliate link(s). As an Amazon Associate, I earn from qualifying purchases. See Disclosure.
They’re as no-fuss as it gets: just Oreos, melted candy, and plenty of spooky sprinkles. No oven needed, no rolling or shaping. Just dip, decorate, and let them set. Once you make a batch, you’ll want to keep candy melts and Oreos on hand for whenever the Halloween mood strikes.

The Backyard Table
Recipes for Summer Cookouts
With over 50 pages of foodie love, The Backyard Table features Chef Jenn's BEST recipes for outdoor eating and entertaining. Every recipe is created, tested, and loved by Chef Jenn, with NO AI! Get it now, at a special introductory price of $7.99 and level up your outdoor dining.
This is a digital product. You'll receive an instant download link after purchase.
Get ad-free recipes like Grilled Corn Guacamole, Grilled French Onion Burgers, Deviled Egg Pasta Salad, Blueberry Grunt, and so many more!
The best part about these Halloween Oreos is that there’s no fussing with food color. When you use colored candy melts, all the coloring is done for you. If you can only find white candy melts, you can use gel food color to tint the melted candy melts.
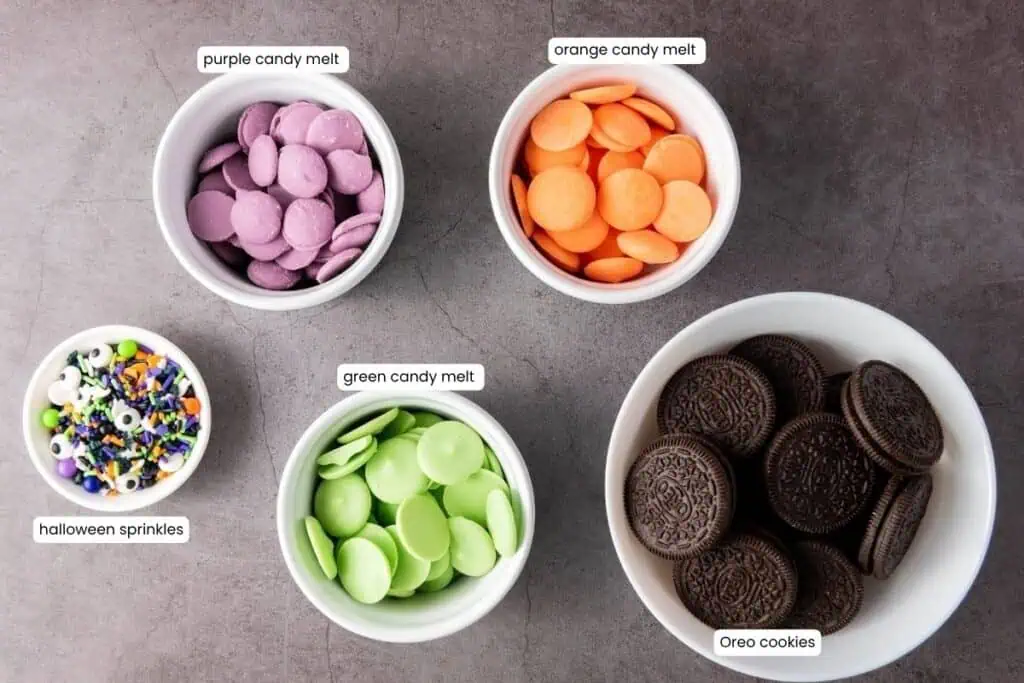
Ingredients:
- Oreo cookies – You can use Oreo or store brand cookies. They work equally well
- Purple candy melts – You can find candy melts online or at your local craft store in the cake decorating section.
- Green candy melts
- Orange candy melts
- Halloween sprinkles – Like bats, pumpkins, ghosts, or other spooky shapes.
How to Make Spooky Oreo Treats
Scroll down for the full recipe card with exact measurements and printable instructions.
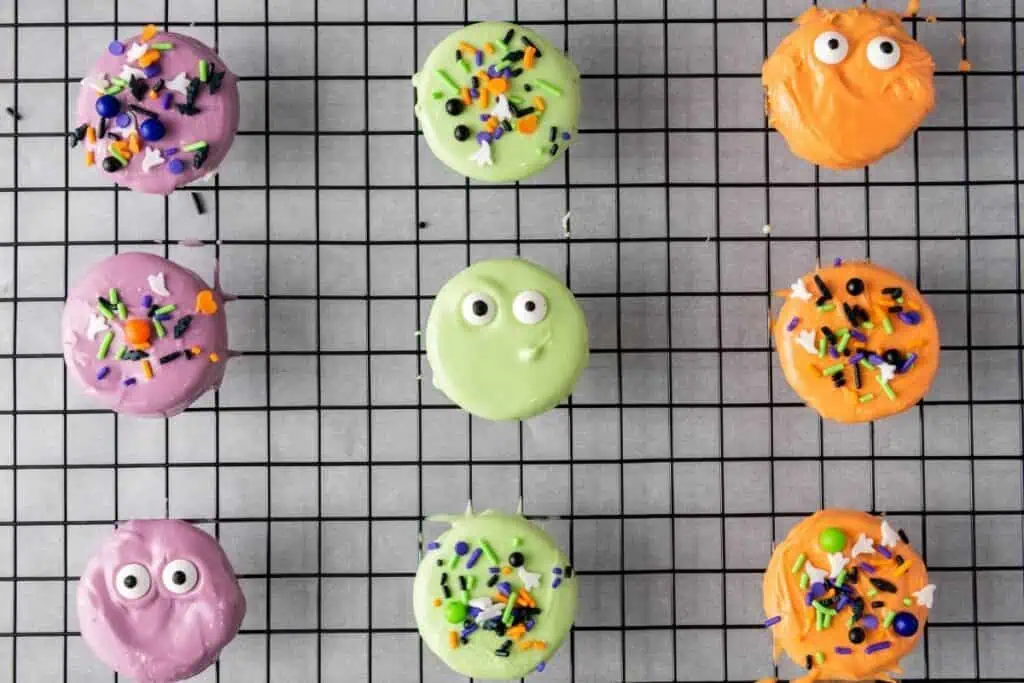
Start by lining a large rimmed baking sheet with parchment paper or a silicone baking mat. I always reach for a rimmed sheet so everything stays in place while I’m moving it. A silicone mat helps the Oreos release cleanly once the candy has set.
Pour your Halloween sprinkles into small prep bowls. I like using clear glass pinch bowls so I can easily see what’s what. This also keeps sprinkle chaos to a minimum if you’ve got little helpers at the counter.
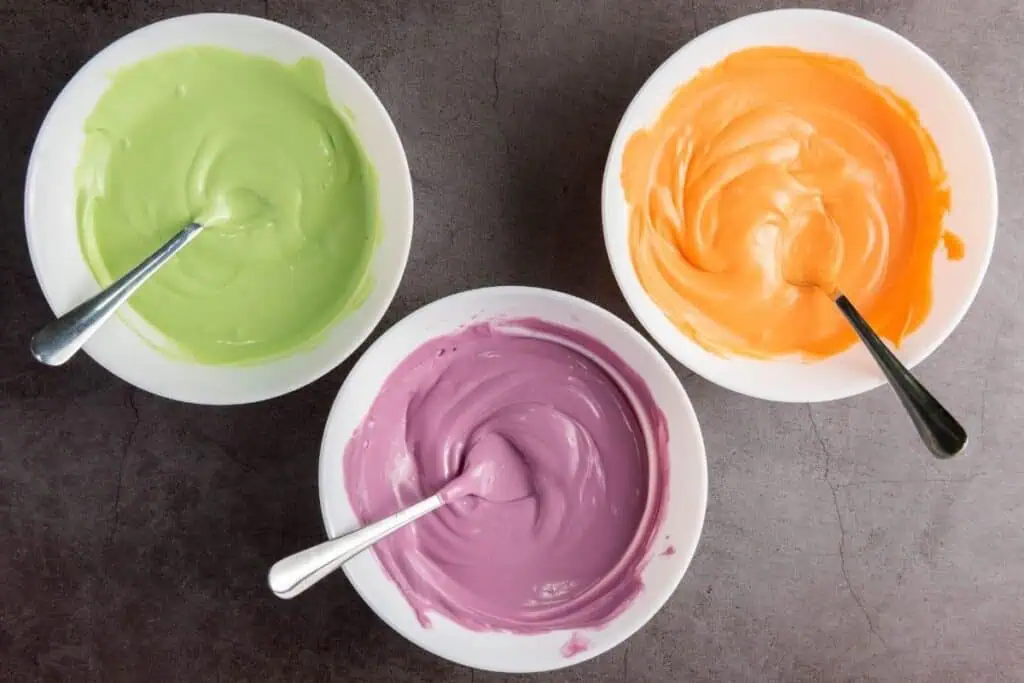
Add your purple, green, and orange candy melts to three separate microwave-safe glass bowls. Glass holds heat more evenly, which gives you a little more time to work before things start to cool and thicken.
Working one color at a time, microwave the melts in 30-second bursts. Stir between each round with a heat-safe silicone spatula until everything is smooth. Silicone spatulas are great for this, they handle heat well and keep the texture nice and silky.
Use a two-prong candy dipping fork or a flat-base dipping tool to dip each Oreo into the melted candy. I like using a dipping tool because it supports the cookie and lets extra coating drip off without mess. It also gives the cookies a cleaner, more polished look.
Once coated, let the extra candy drip off, then place the cookie on the prepared sheet. I sometimes place the sheet on top of a wire cooling rack to allow a bit of airflow underneath. It helps the candy coating set evenly without getting soggy.
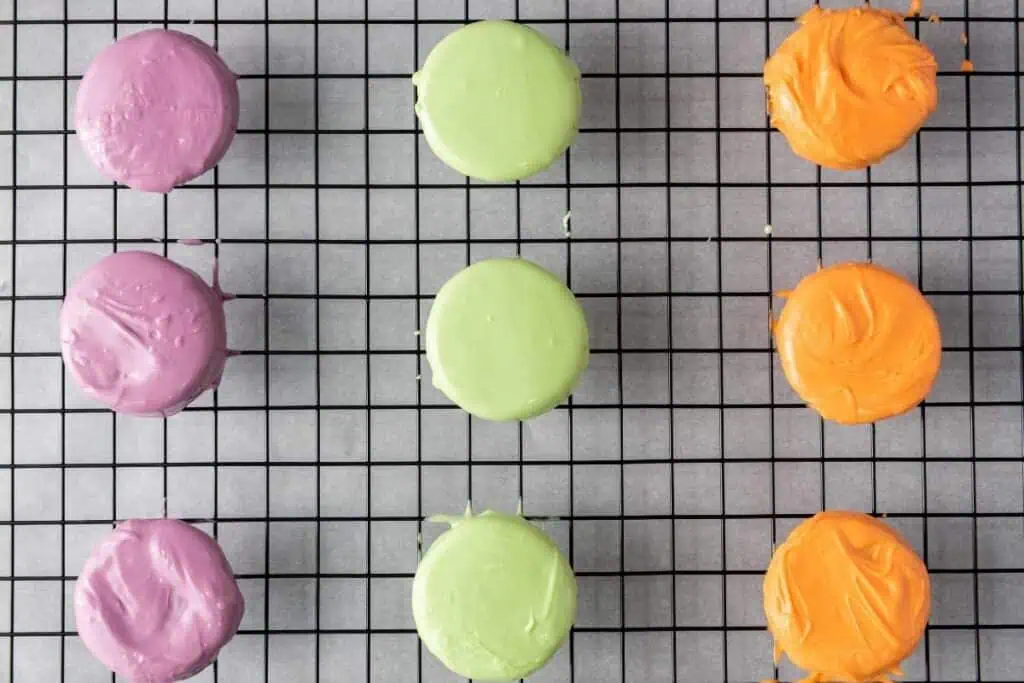
Work in batches: dip four cookies in each color so you end up with a bright, even mix. If one bowl of candy melts starts to thicken, give it another quick spin in the microwave for 10 seconds.
While the coating is still soft, sprinkle your decorations on. For precise placement, I use a small set of mini tongs or a sprinkle spoon to drop shapes exactly where I want them. It’s especially helpful if you want themed designs or more control over the look.
Have fun with it. Let the kids choose their favorite sprinkle combos and go wild. There’s no wrong way to decorate here, just make sure you get those sprinkles on before the candy sets.
Leave the tray at room temp for about 30 minutes until the coating firms up. If I’m in a rush, I pop it in the fridge for 15 minutes. I cover the tray with a baking sheet to keep condensation and fridge smells away.
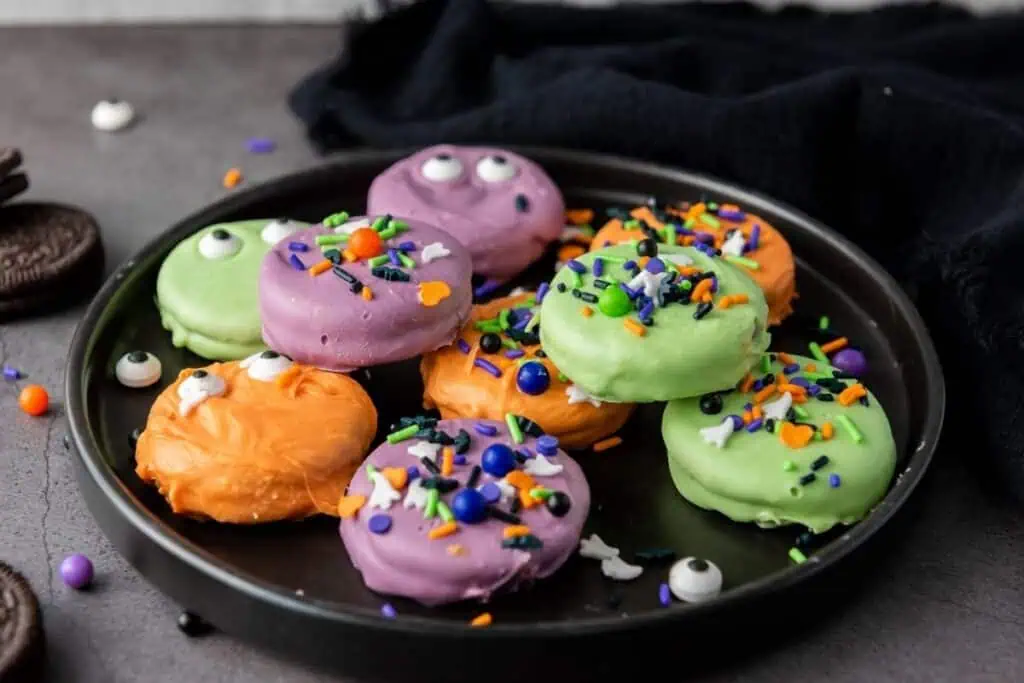
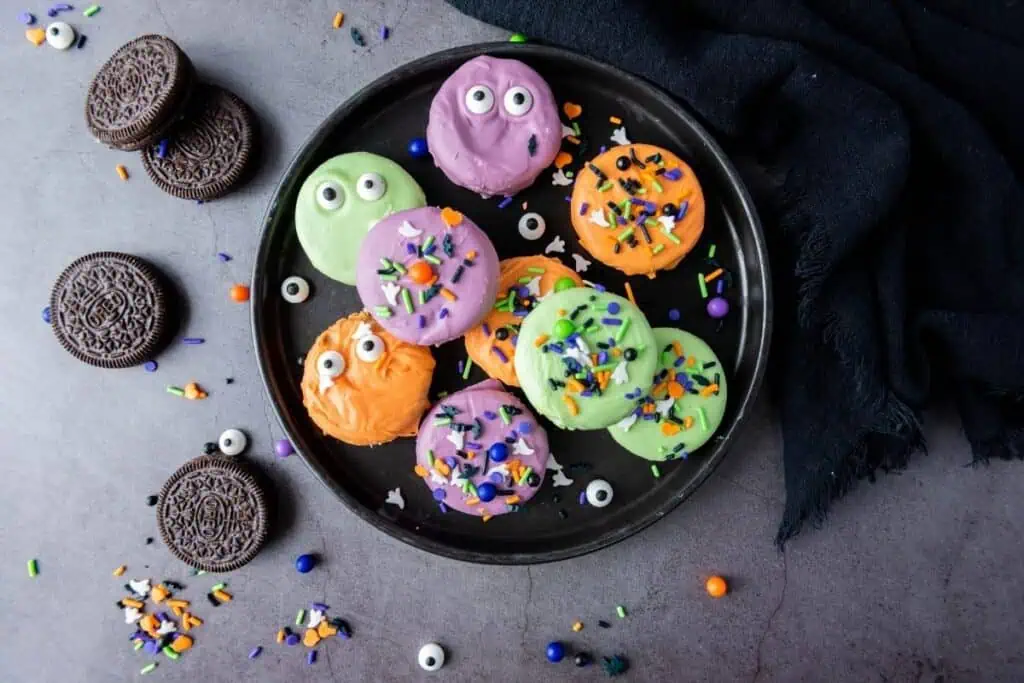
Once they’re set, transfer your Spooky Oreo Treats to a serving platter or container. I love layering them on a wax paper–lined tiered tray if I’m putting out a Halloween spread. If I’m storing them for later, I separate the layers with parchment so nothing smudges.
Chef Jenn’s Tips
- A candy dipping fork or flat-bottomed tool makes for neater, more even coatings.
- Glass bowls help your melts stay smooth and warm longer than plastic.
- If the melted candy feels too thick, a tiny bit of coconut oil can help loosen it.
- Get the kids involved by letting them choose their own sprinkle mix.
- For gifting, pack the cookies in clear treat bags and tie with twine or ribbon.
Make It a Meal
Spooky Oreo Treats are fun on their own, but they’re even better when you add them to a Halloween dessert tray. Serve alongside chocolate-dipped pretzels, popcorn balls, or candy bark for a no-bake spread that comes together fast and looks like you planned it all week.
Storage
Keep your finished Oreos in an airtight container at room temperature for up to 5 days. Make sure they’re stored somewhere cool and dry so the coating doesn’t soften. For longer storage, freeze them in a single layer with parchment between each one in a freezer-safe container. Let them thaw at room temperature before serving.
Spooky Oreo Treats
Equipment
Ingredients
- 12 Oreo cookies
- ¼ cup Purple candy melts
- ¼ cup Green candy melts
- ¼ cup Orange candy melts
- Halloween sprinkles e.g., bats, pumpkins, ghosts, and other spooky shapes
Instructions
- Line a baking sheet with parchment paper or a silicone baking mat and set aside.
- Separate your Halloween sprinkles into small bowls for easy access.
- Place purple, green, and orange candy melts in three microwave-safe bowls.
- Microwave each color separately in 30-second intervals, stirring between each, until smooth.
- Dip Oreos into the melted candy using a fork or dipping tool. Let extra coating drip off.
- Place coated cookies on the prepared sheet. Dip 4 cookies per color.
- Add sprinkles while the candy is still wet, using any designs you like.
- Let the treats set at room temp for 30–60 minutes or chill in the fridge for 15 minutes.
- Serve immediately, once set, or store in an airtight container.
Notes
Chef Jenn’s Tips
- A candy dipping fork or flat-bottomed tool makes for neater, more even coatings.
- Glass bowls help your melts stay smooth and warm longer than plastic.
- If the melted candy feels too thick, a tiny bit of coconut oil can help loosen it.
- Get the kids involved by letting them choose their own sprinkle mix.
- For gifting, pack the cookies in clear treat bags and tie with twine or ribbon.
Nutrition
A Note on Nutritional Information
Nutritional information for this recipe is provided as a courtesy and is calculated based on available online ingredient information. It is only an approximate value. The accuracy of the nutritional information for any recipe on this site cannot be guaranteed.