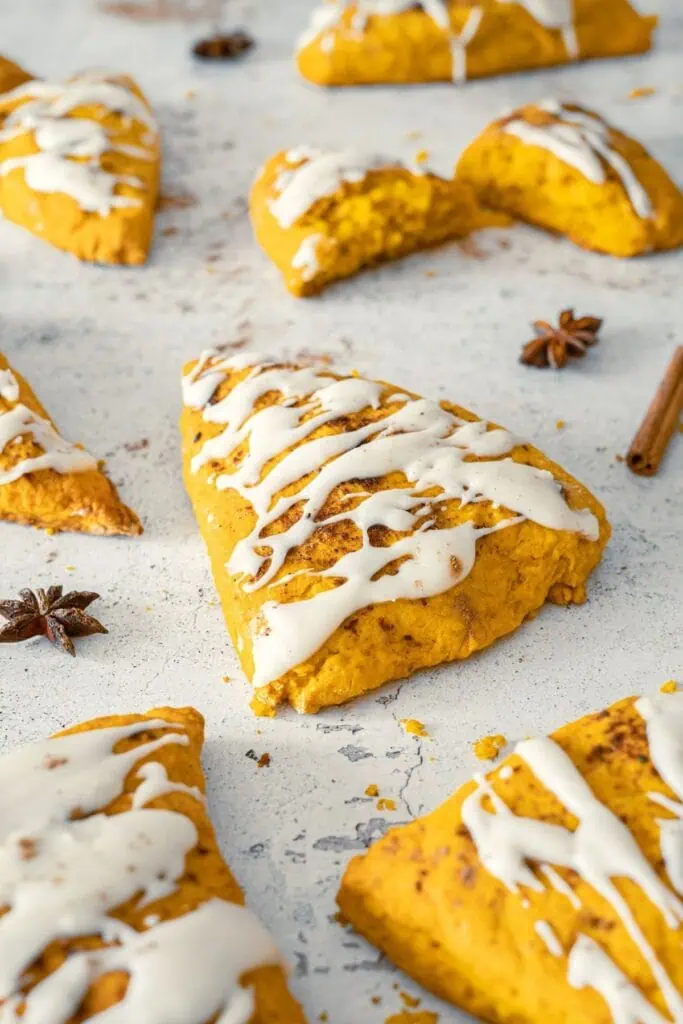
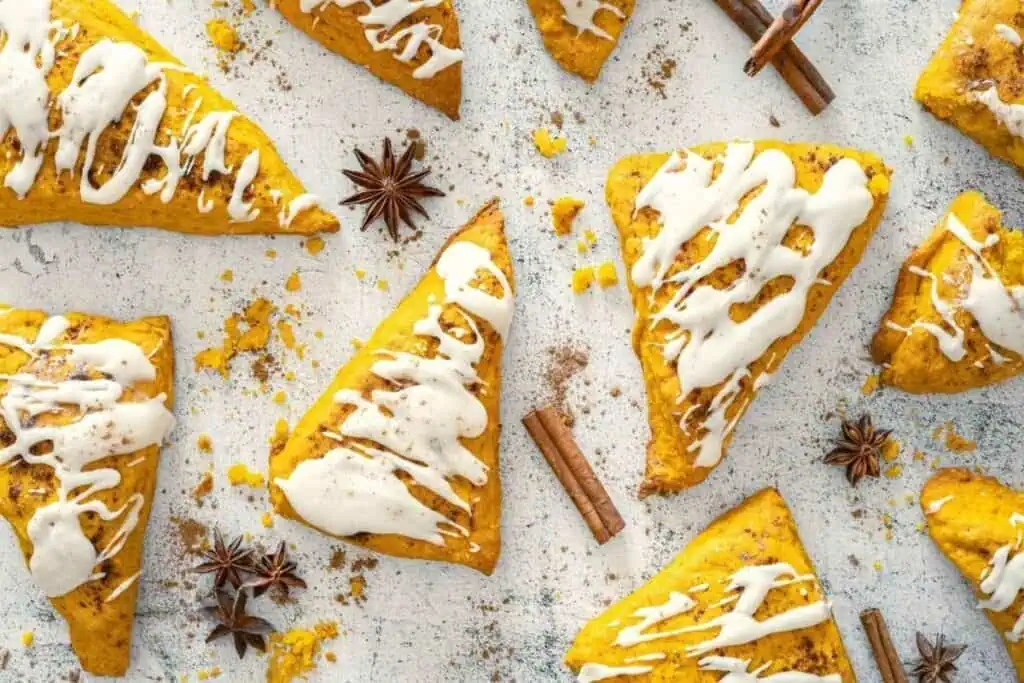
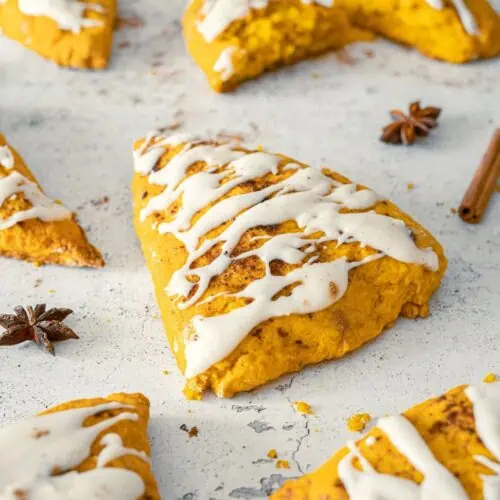
Pumpkin Spice Scones with Vanilla Glaze
Every now and then, breakfast deserves to feel a little more intentional. Pumpkin Spice Scones with Vanilla Glaze come together in one bowl, fill the kitchen with the smell of warm spice, and manage to feel both easy and just a little indulgent. When I want something pumpkiny, a bit sweet, and a whole lot of delish, these scones fit right in.
This post may contain affiliate link(s). As an Amazon Associate, I earn from qualifying purchases. See Disclosure.
This recipe started with a can of pumpkin I didn’t want to use for yet another loaf of bread. One batch of scones later and I was completely sold. These are buttery, flaky, and gently sweet with just enough spice to feel like fall in every bite. I love these for breakfast, brunch, or even lunch or dinner with a bowl of soup. They’re also great for dessert. They’re pretty much the perfect scone. Topped with a drizzle of vanilla glaze, they’re bakery-worthy without being high-maintenance.

The Backyard Table
Recipes for Summer Cookouts
With over 50 pages of foodie love, The Backyard Table features Chef Jenn's BEST recipes for outdoor eating and entertaining. Every recipe is created, tested, and loved by Chef Jenn, with NO AI! Get it now, at a special introductory price of $7.99 and level up your outdoor dining.
This is a digital product. You'll receive an instant download link after purchase.
Get ad-free recipes like Grilled Corn Guacamole, Grilled French Onion Burgers, Deviled Egg Pasta Salad, Blueberry Grunt, and so many more!
What are scones? Scones walk the line between savory and sweet. Not entirely dessert, not entirely breakfast. You can enjoy them first thing in the morning or in the afternoon with a coffee. They have a long history of being served with tea (think Downton Abbey), but really, they’re any anytime treat that freezes well!
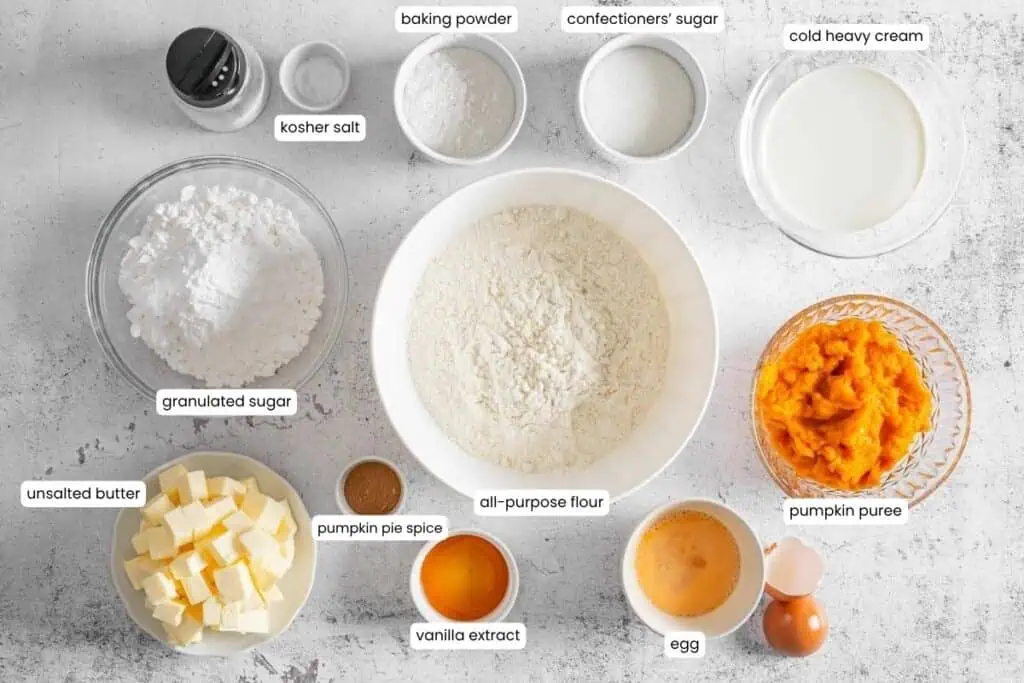
Ingredients
- All-purpose flour – No need to sift the flour.
- Granulated sugar – I’ve cut the sugar down to ¼ cup and it still worked out, so if you’re cutting back on sugar, try that.
- Baking powder – Ensure that your baking powder is fresh or the scones won’t rise properly.
- Kosher salt – Use ½ teaspoon table salt if you’re using table salt.
- Pumpkin pie spice – Some goes into the dough, and some sprinkles on top.
- Cold unsalted butter – There’s a lot of butter in these scones but it’s worth every bit!
- Pumpkin puree – Ensure you’re using pure pumpkin puree, not pumpkin pie filling.
- Cold heavy cream – You’ll need some for the scones and some for the glaze.
- Egg – You can use an extra large egg if that’s what you have.
- Vanilla extract – You can use artificial vanilla, that’s fine.
- Confectioners’ sugar – No need to sift it, and don’t worry about lumps. They’ll smooth out when making the glaze.
How to make a Pumpkin Spice Scone with Vanilla Glaze
Scroll down for the full recipe card with exact measurements and printable instructions.
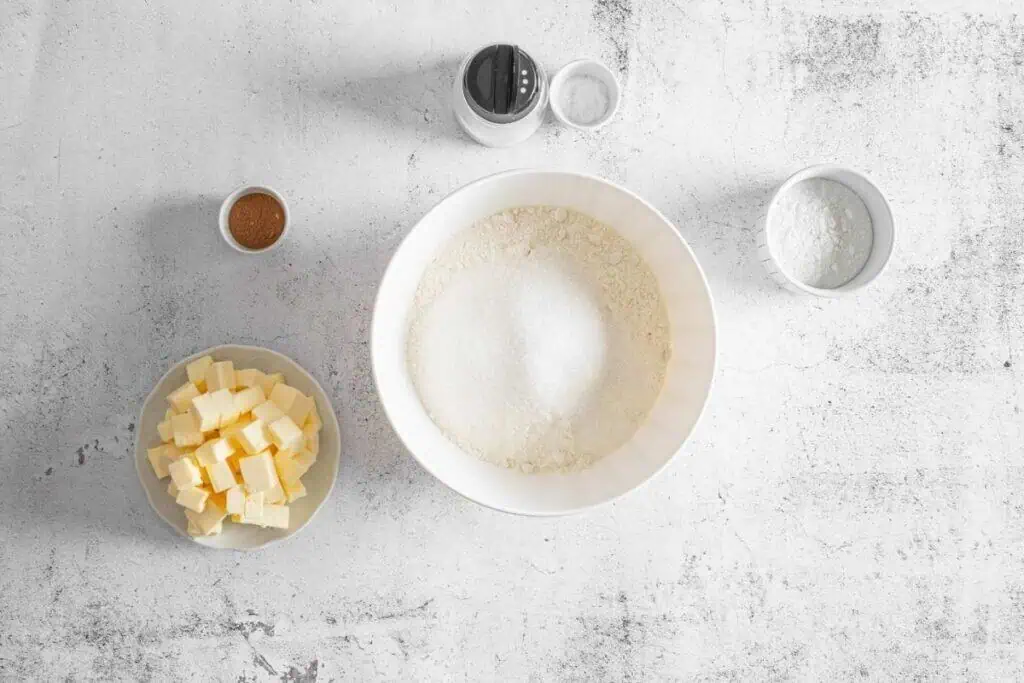
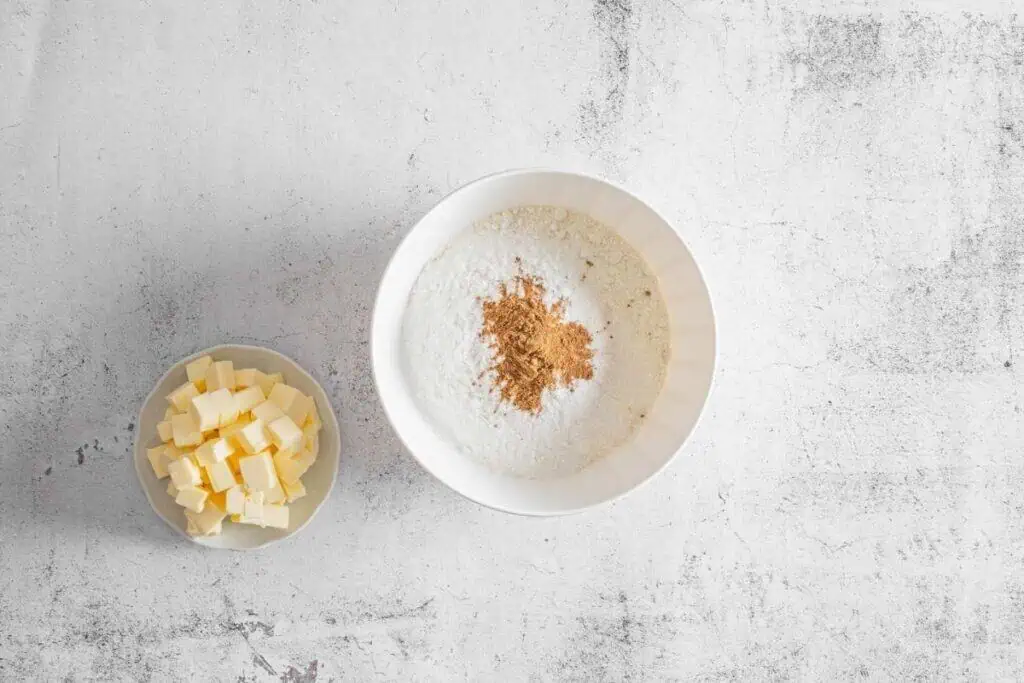
Start by whisking together the dry ingredients: flour, sugar, baking powder, salt, and pumpkin pie spice. To keep things light and clump-free, you can use a flour sifter with a crank handle. It aerates the flour and helps the spices distribute evenly, which gives the scones a better rise and consistent flavor throughout.
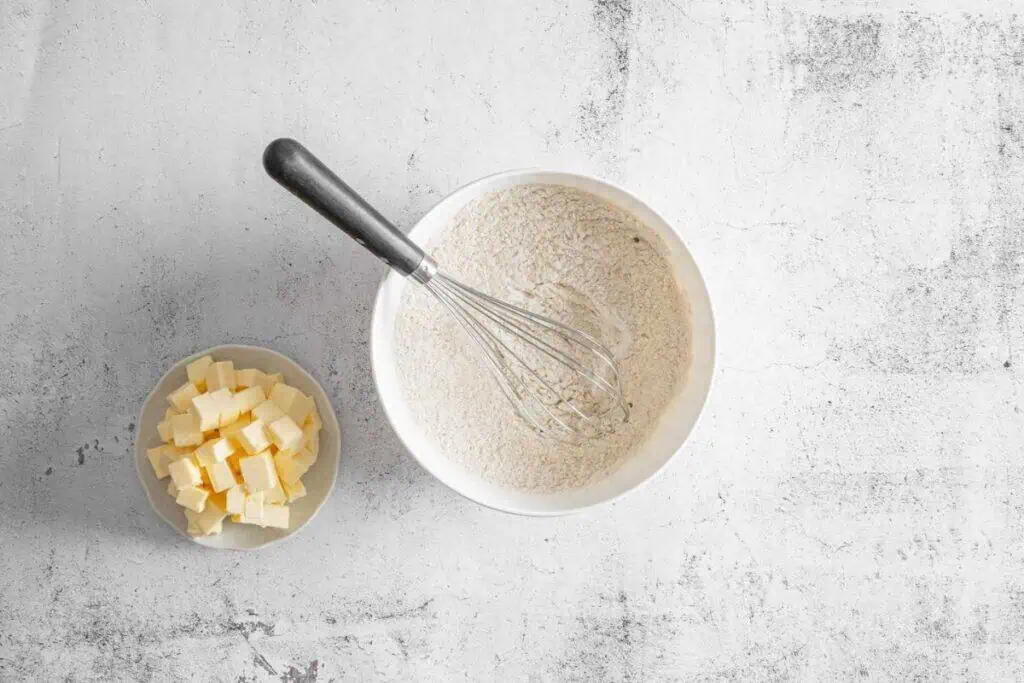
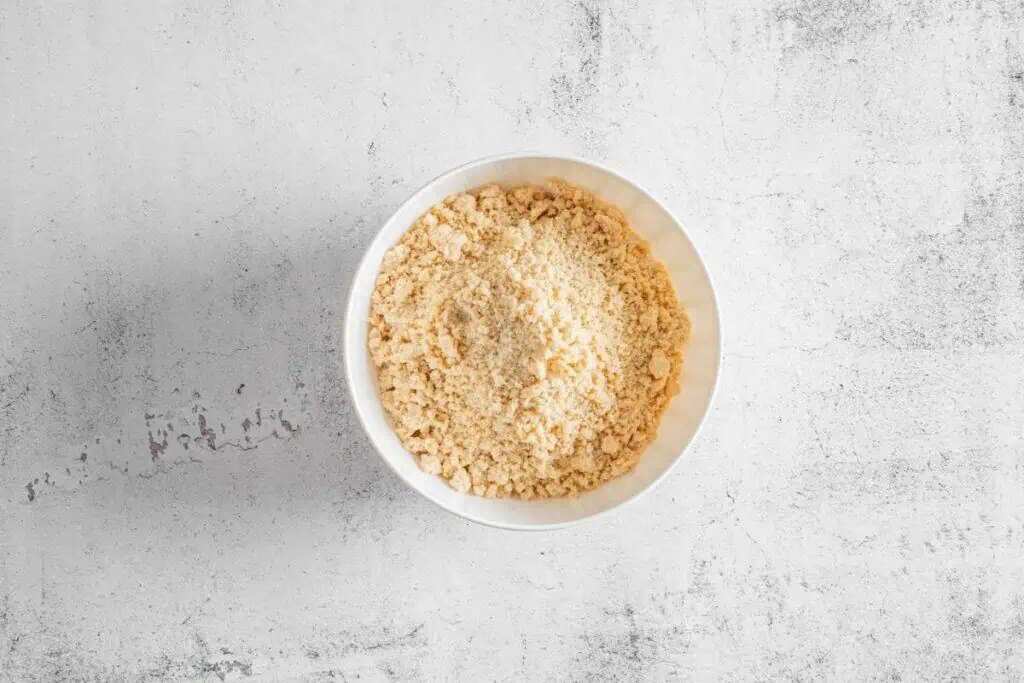
Next, cut in the cold butter using a stainless steel pastry blender. I prefer this tool over forks because it gives you a better grip and keeps the butter cold while working it into the flour. Just a few presses and you’ll have that crumbly texture you want.
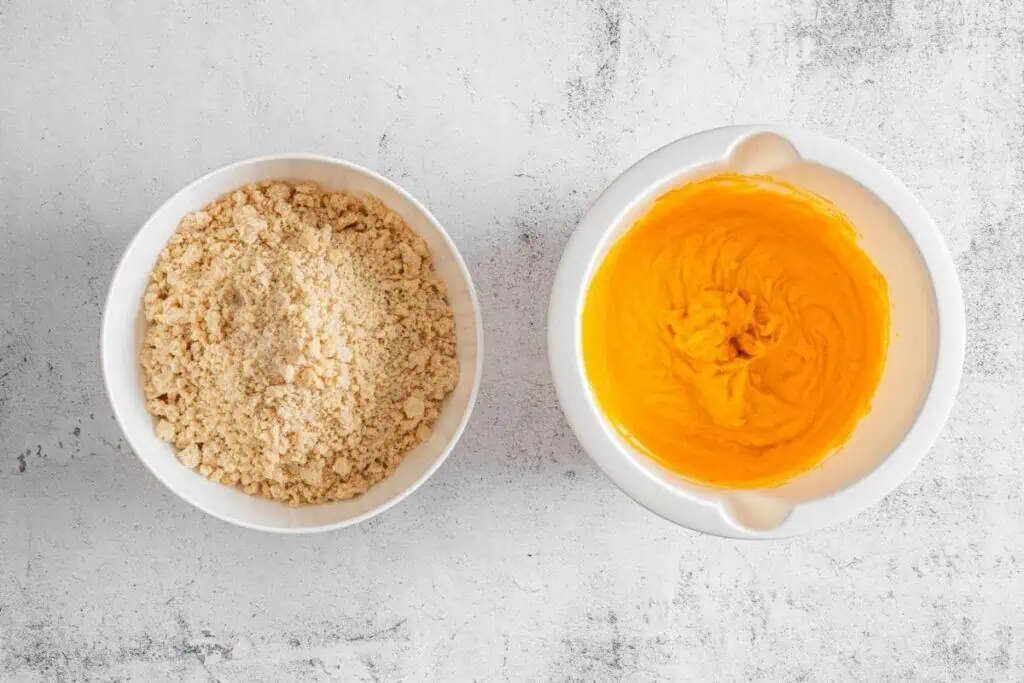
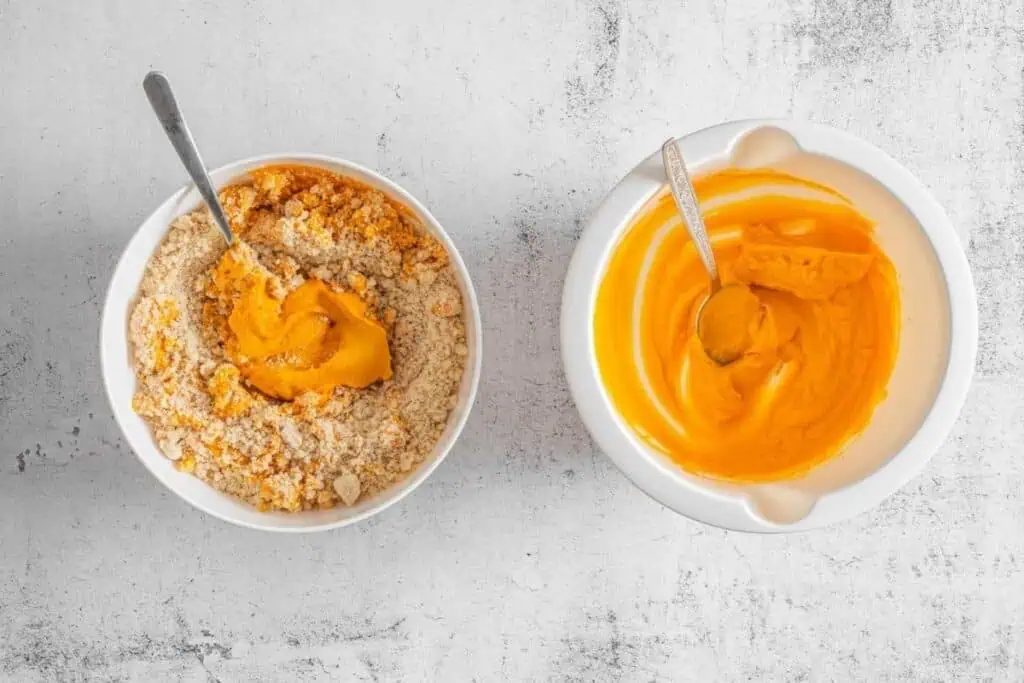
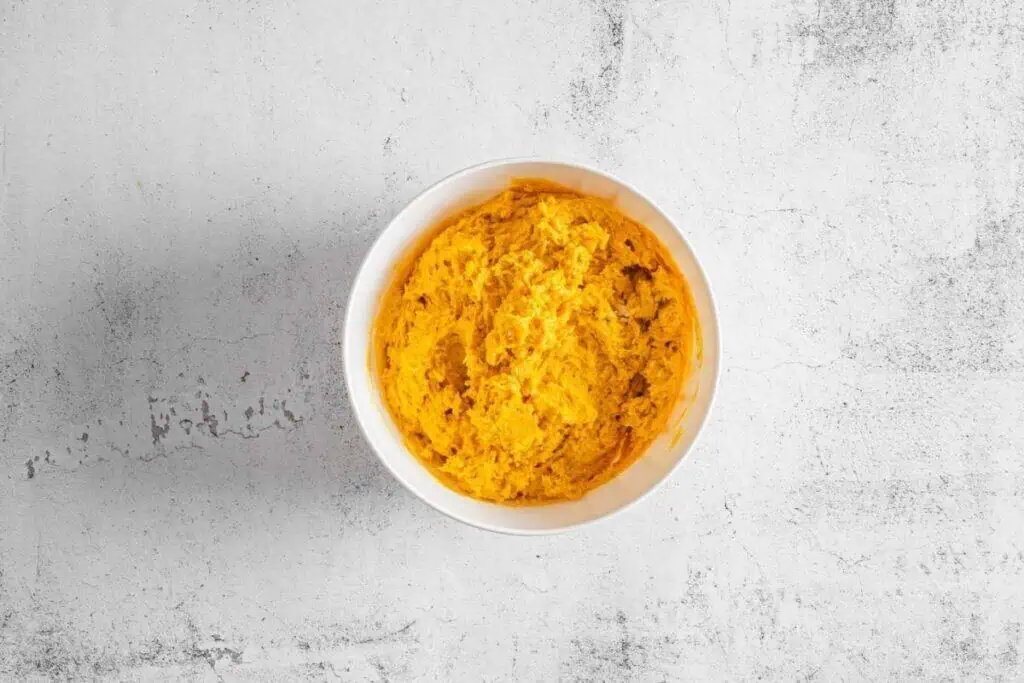
In another bowl, mix together the pumpkin puree, cream, egg, and vanilla. Gently stir that into your dry ingredients using a dough whisk. It’s sturdier than a balloon whisk and handles thick mixtures without overmixing, which keeps the scones soft.

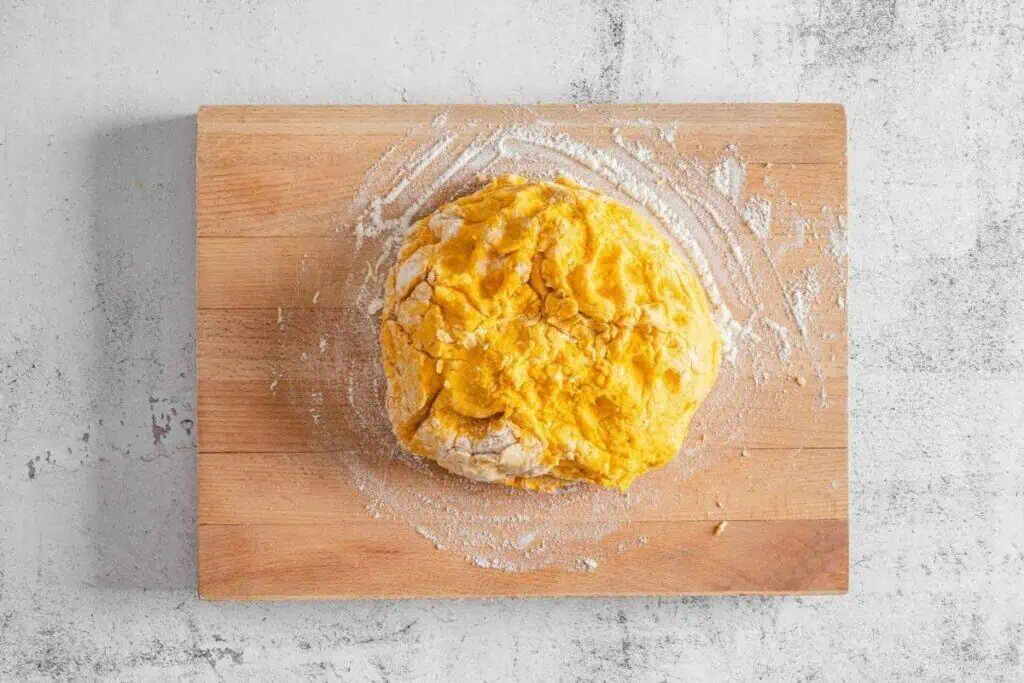
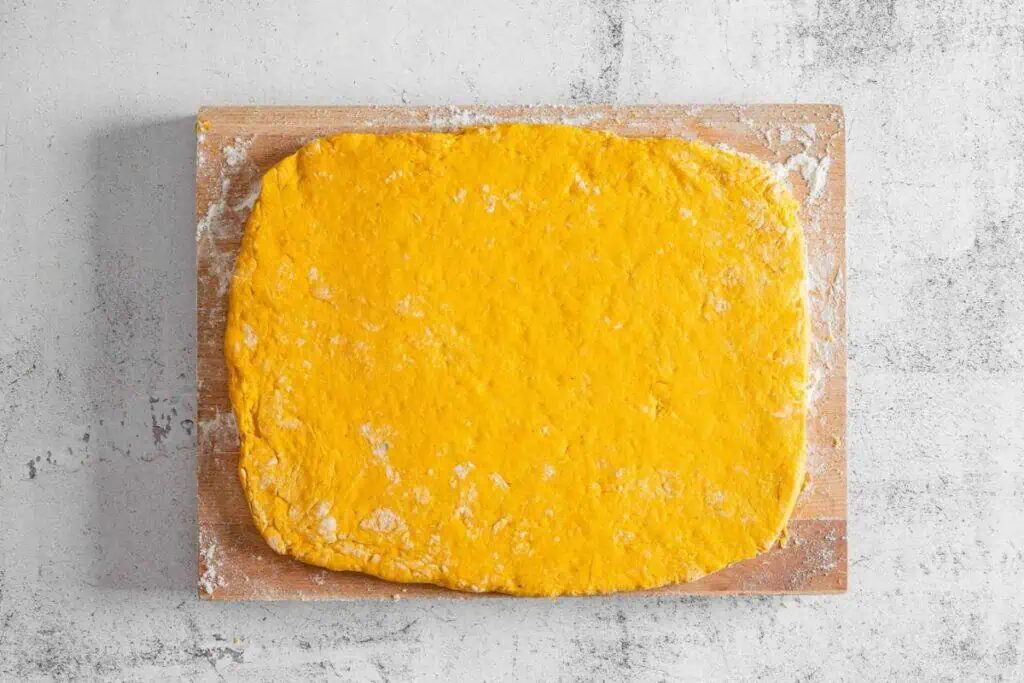
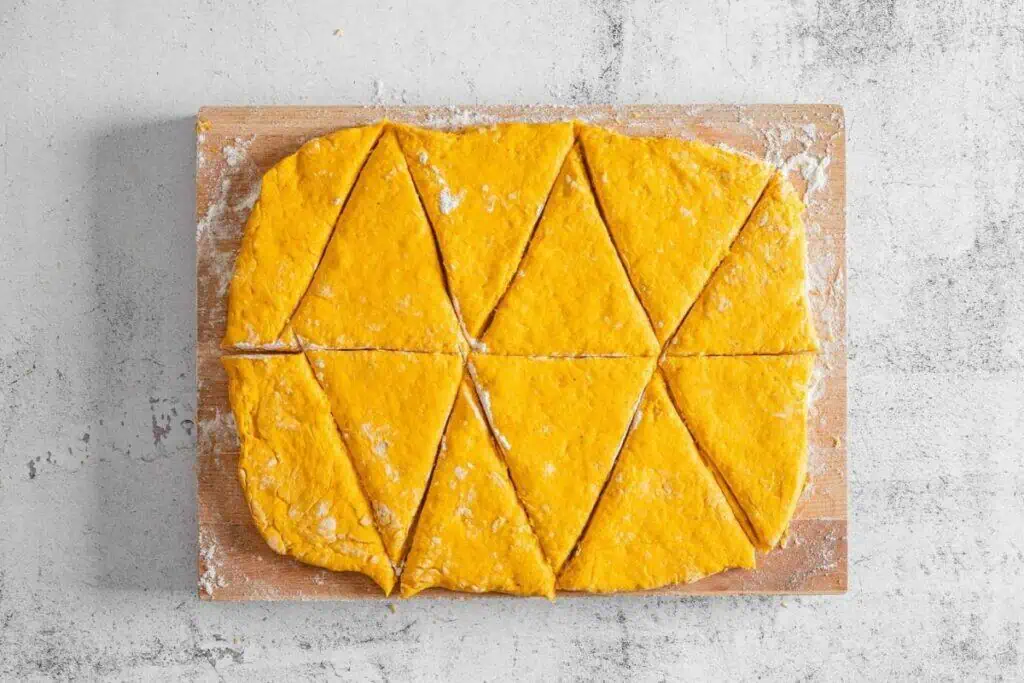
Turn the dough out onto a floured surface and bring it together with a few gentle kneads. I like using a marble pastry board here because it stays cool, helping the butter stay firm and the dough easier to handle. Press the dough into a circle about one inch thick.
To slice clean, even wedges, reach for a bench scraper with measurement markings. It cuts smoothly, helps divide the dough evenly, and also makes it easier to clean up the work surface when you’re done.
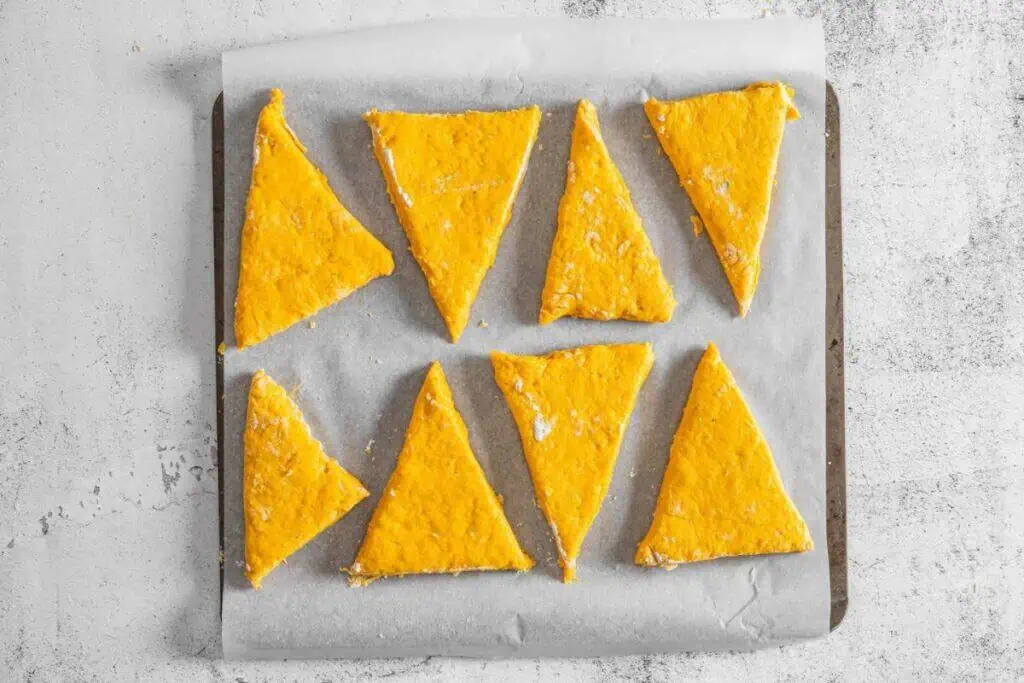
Move the scones onto a baking sheet lined with a reusable silicone baking mat on a rimmed sheet pan. The mat prevents sticking and helps the bottoms bake evenly without overbrowning.
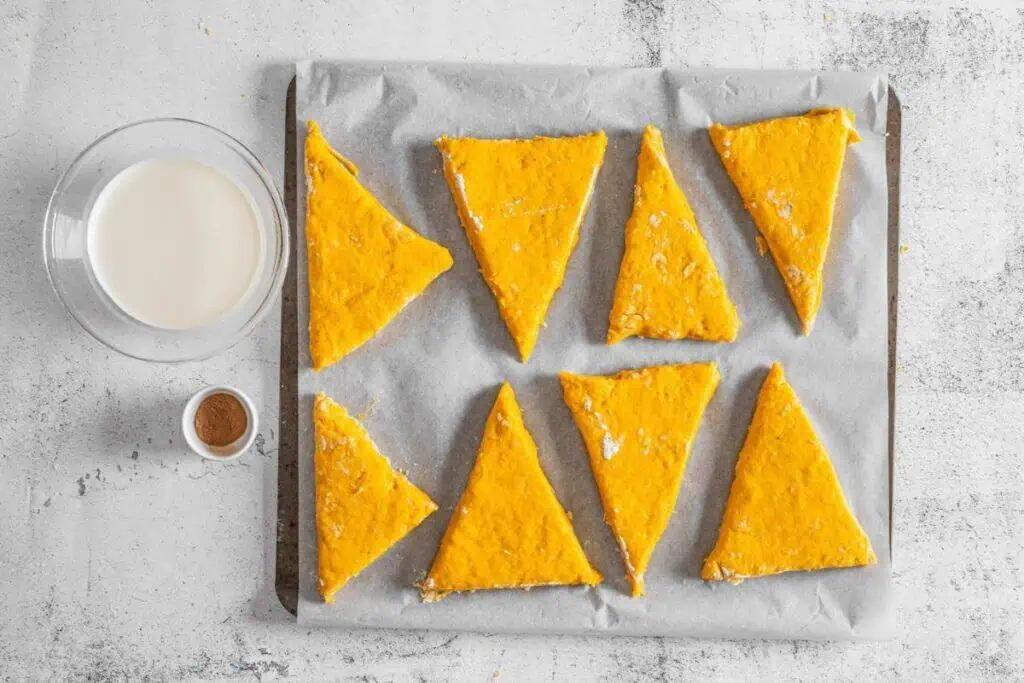
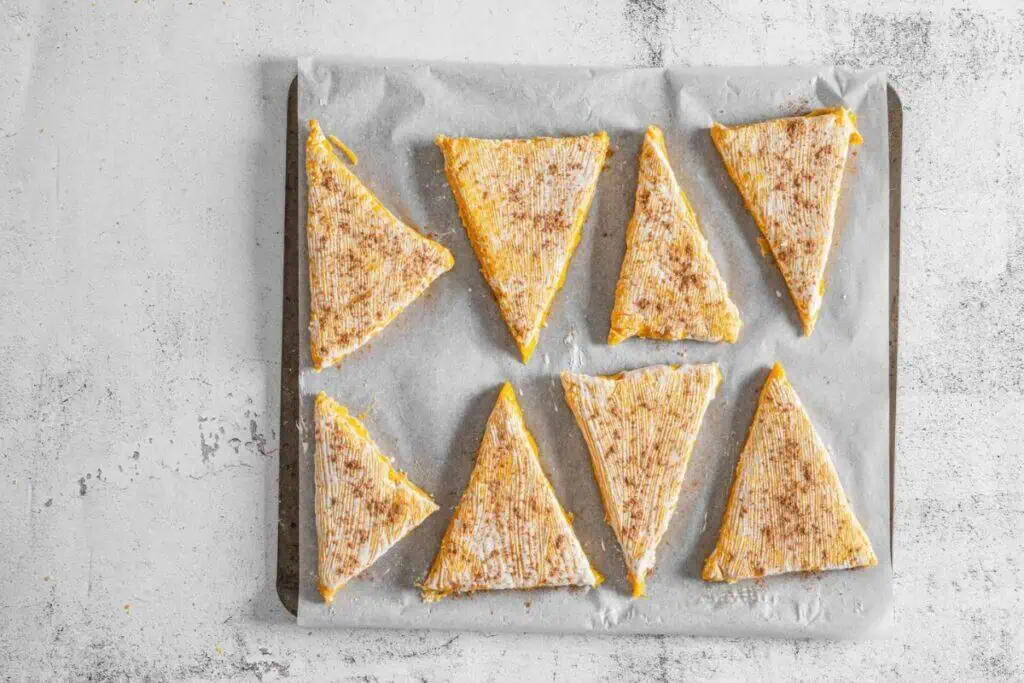
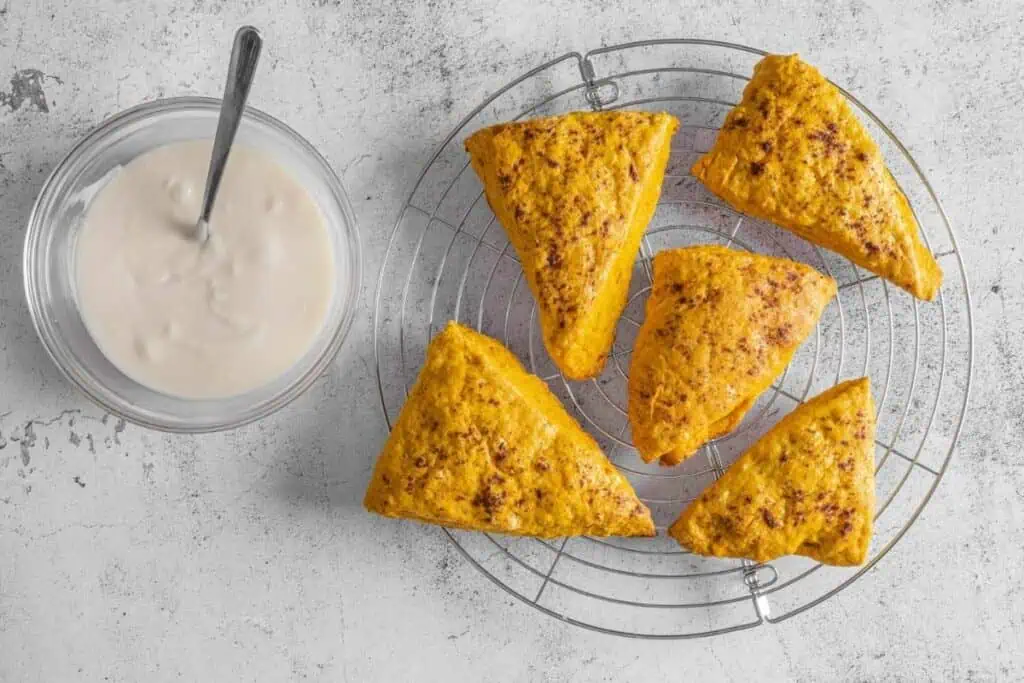
Brush the tops with cream and sprinkle with a little extra pumpkin pie spice. A silicone pastry brush with a soft grip is great for this because it glides gently over the dough and won’t leave stray bristles behind.

While the scones bake or chill, you can prep the glaze. Stir the confectioners’ sugar into the cream and vanilla. A small angled whisk works perfectly here, especially for mixing in smaller bowls or adjusting texture with more cream.
When the scones have cooled, drizzle the glaze over the top using a glaze bottle with a narrow tip. It keeps things neat and makes it easy to create a clean, even drizzle. If you prefer a more rustic finish, you can use a spoon instead.
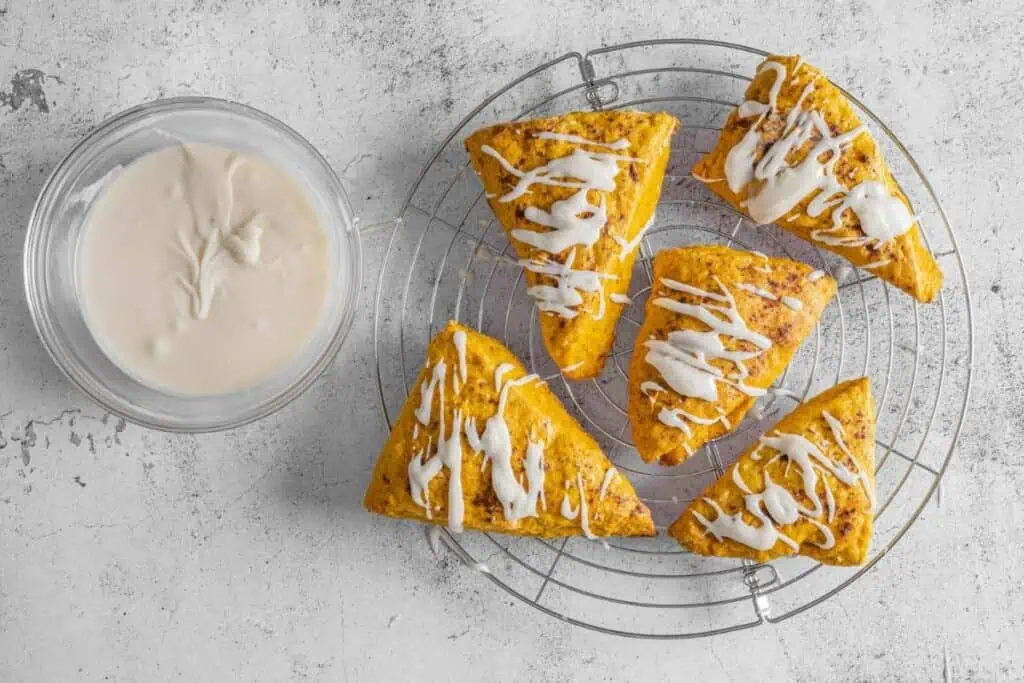
Set the glazed scones on a cooling rack with a drip tray underneath. This lets the glaze set without making a mess on your counters and gives you that polished bakery look with minimal cleanup.
Chef Jenn’s Tips
- Use cold butter and work quickly when cutting it into the flour. This creates flaky layers and a tender crumb.
- Avoid overmixing once the wet and dry ingredients come together. Stir just until the dough holds together to prevent toughness.
- Chill the dough before baking to help the scones keep their shape and create a slightly crisp exterior.
- For extra spice, bump up the pumpkin pie spice to 2½ teaspoons or add a pinch of nutmeg or clove.
- Let the glaze drip down the sides for a more rustic look. No need to be perfect here.
Serving Suggestions
These scones are ideal for breakfast or brunch. Serve them warm with coffee, chai, or a maple latte. If you’re building a brunch plate, they pair well with scrambled eggs, bacon, or a bowl of yogurt and fresh fruit. They also work beautifully as an afternoon treat alongside a cozy mug of tea.
Storage
Once the glaze has set, you can store the scones at room temperature in an airtight container for up to two days. For longer storage, freeze the scones before adding the glaze. Reheat them in a low oven, then drizzle with fresh glaze once thawed. Unglazed scones can be frozen for up to two months and reheated as needed.
Pumpkin Spice Scones with Vanilla Glaze
Equipment
Ingredients
- 4 cups all-purpose flour plus extra for dusting
- ½ cup granulated sugar
- 4 tablespoons baking powder
- 1 teaspoon kosher salt
- 2½ teaspoons pumpkin pie spice divided
- 1¼ cups cold unsalted butter cubed
- 1¾ cups pumpkin puree
- 1 tablespoon cold heavy cream
- 3/4 cup cold heavy cream
- 1 large egg lightly beaten
- 2 teaspoons vanilla extract divided
- 2 cups confectioners’ sugar
Instructions
- Preheat your oven to 375°F and line a baking sheet with parchment paper.
- Whisk the flour, sugar, baking powder, salt, and 2 teaspoons of pumpkin pie spice together in a large mixing bowl.
- Cut in the cold butter using a pastry blender or two forks until the mixture looks like coarse crumbs.
- Stir together the pumpkin puree, 6 tablespoons of cream, beaten egg, and 1 teaspoon of vanilla in a separate bowl.
- Add the wet mixture to the dry ingredients, stirring with a fork until a rough dough starts to form. If the dough feels too dry, add another tablespoon of cream.
- Transfer the dough to a floured surface and gently knead just until it comes together.
- Shape the dough into a 1-inch thick circle and cut it into 12 wedges. Arrange the wedges on the baking sheet and refrigerate for 30 minutes.
- Brush the tops with 1 tablespoon of heavy whipping cream and sprinkle with the remaining ½ teaspoon of pumpkin pie spice.
- Bake for 25 minutes or until the tops are golden and the scones are baked through. Cool on the baking sheet for 5 minutes, then move to a wire rack to cool completely.
- Make the glaze by whisking together the confectioners’ sugar, 6 tablespoons of cream, and the remaining teaspoon of vanilla. Add a little more cream if needed until the glaze is smooth and pourable.
- Drizzle the glaze over the cooled scones and let it set for 10 minutes before serving.
Notes
Chef Jenn’s Tips
- Use cold butter and work quickly when cutting it into the flour. This creates flaky layers and a tender crumb.
- Avoid overmixing once the wet and dry ingredients come together. Stir just until the dough holds together to prevent toughness.
- Chill the dough before baking to help the scones keep their shape and create a slightly crisp exterior.
- For extra spice, bump up the pumpkin pie spice to 2½ teaspoons or add a pinch of nutmeg or clove.
- Let the glaze drip down the sides for a more rustic look. No need to be perfect here.
Nutrition
A Note on Nutritional Information
Nutritional information for this recipe is provided as a courtesy and is calculated based on available online ingredient information. It is only an approximate value. The accuracy of the nutritional information for any recipe on this site cannot be guaranteed.