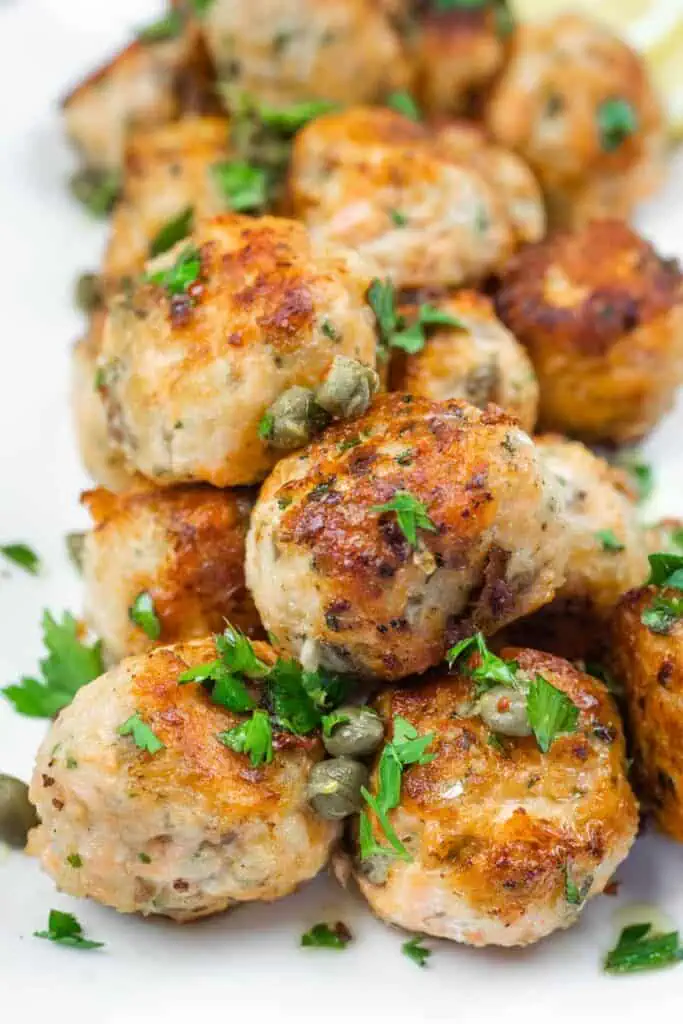
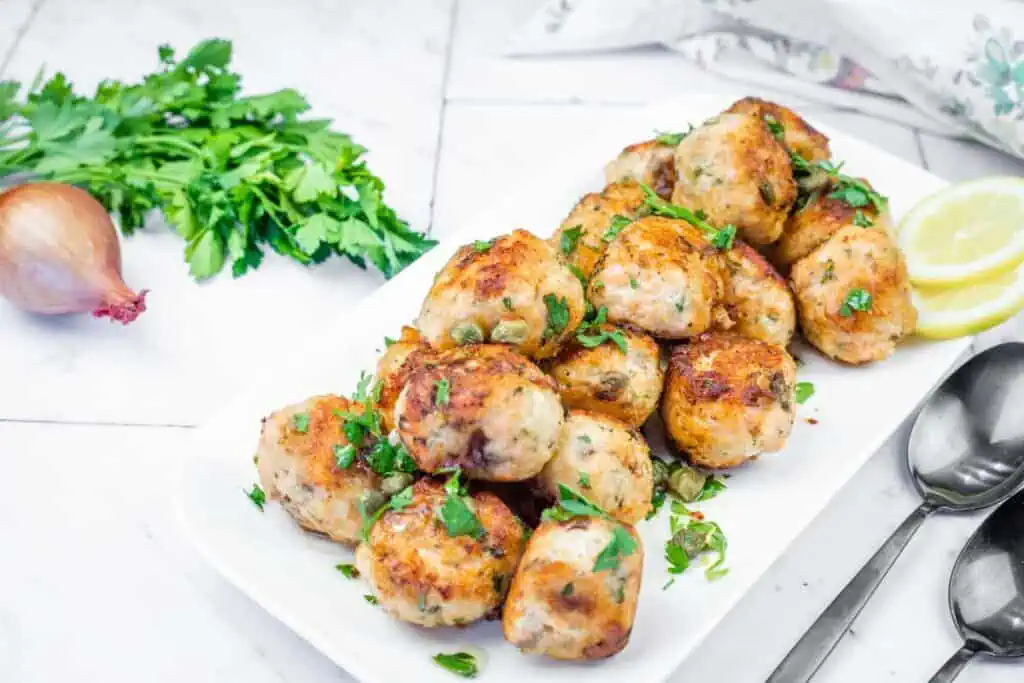
Pan-Fried Salmon Balls
Pan-fried salmon balls are a simple, flavorful alternative to traditional meatballs and a great way to add more fish to your meals. They’re easy to make and work well as a main dish or a quick appetizer.
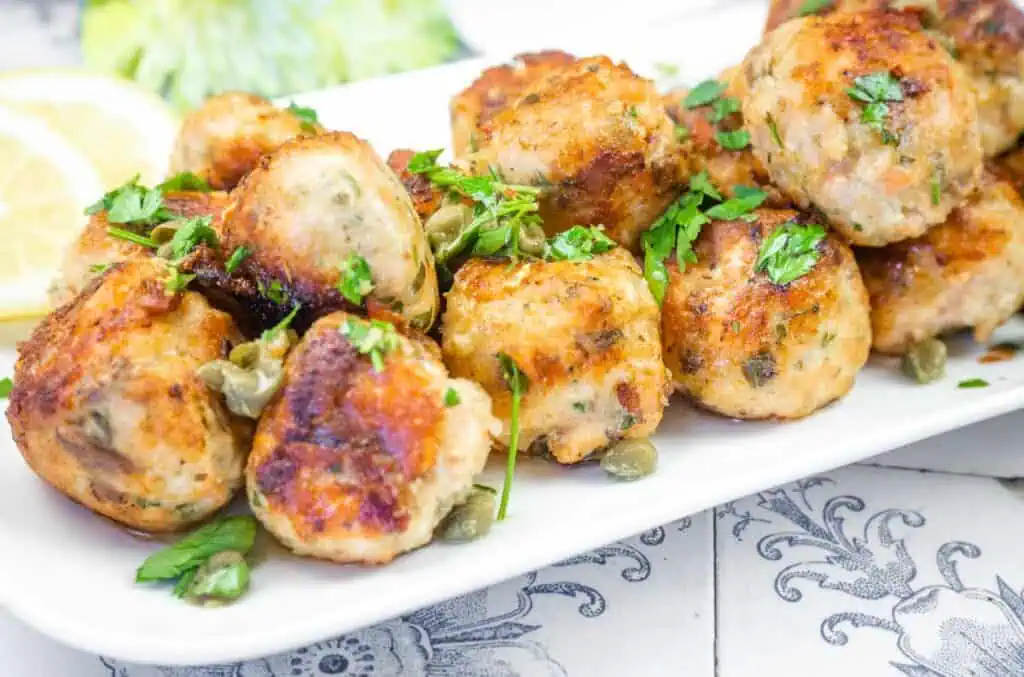
Sometimes you want salmon without the fuss of fillets. These salmon balls are perfect for that—they’re bite-sized, good for prepping ahead, and easy to cook in a skillet.
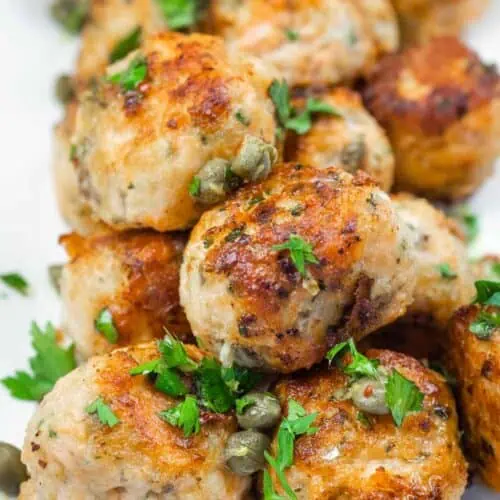
Made with fresh salmon, not canned, they have a light, crisp crust and a tender inside. The mix of lemon, herbs, garlic, and capers gives them a clean, savory flavor that stands out.

The Backyard Table
Recipes for Summer Cookouts
With over 50 pages of foodie love, The Backyard Table features Chef Jenn's BEST recipes for outdoor eating and entertaining. Every recipe is created, tested, and loved by Chef Jenn, with NO AI! Get it now, at a special introductory price of $7.99 and level up your outdoor dining.
This is a digital product. You'll receive an instant download link after purchase.
Get ad-free recipes like Grilled Corn Guacamole, Grilled French Onion Burgers, Deviled Egg Pasta Salad, Blueberry Grunt, and so many more!
Whether you’re making dinner, prepping lunches, or setting out finger food for guests, these salmon balls are quick, versatile, and satisfying.
Ingredients
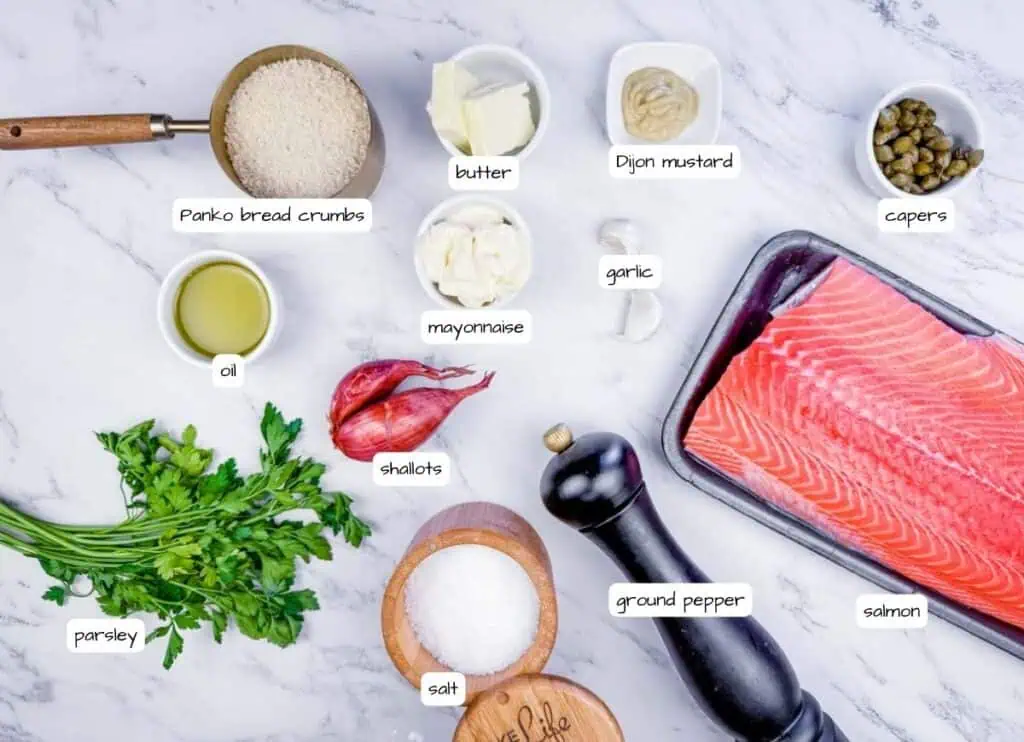
- Fresh salmon – Fresh salmon has the best flavor and texture. Frozen and thawed salmon works—pat it very dry before using or the salmon balls will be too wet.
- Panko bread crumbs – Panko stays crispier than regular bread crumbs. Don’t substitute with regular bread crumbs—they’ll get soggy.
- Mayonnaise – Full-fat mayo works best. Light mayo can make the mixture watery.
- Shallots – Yellow or white onion works as a substitute but tastes sharper. Mince fine so they melt into the salmon mixture.
- Garlic – Please use fresh garlic, not jarlic. It doesn’t have the same punch of flavor.
- Parsley – Fresh parsley only. Flat-leaf parsley has the best flavor. Dried parsley won’t add the same brightness.
- Capers – You can skip the capers but they add a bright, zesty flavor and a bit of acidity.
- Fresh lemon juice – Fresh lemon juice only. Bottled lemon juice tastes flat and won’t brighten the salmon.
- Dijon mustard – Yellow mustard works in a pinch, but Dijon has better tang and won’t make the mixture watery.
- Salt – I use Kosher salt.
- Ground pepper – Freshly cracked black pepper tastes best, but pre-ground works.
- Butter + Oil – To pan-fry your salmon balls. The combination of butter (for flavor) and oil (for higher smoke point) prevents the butter from burning. I use salted butter and avocado or vegetable oil.
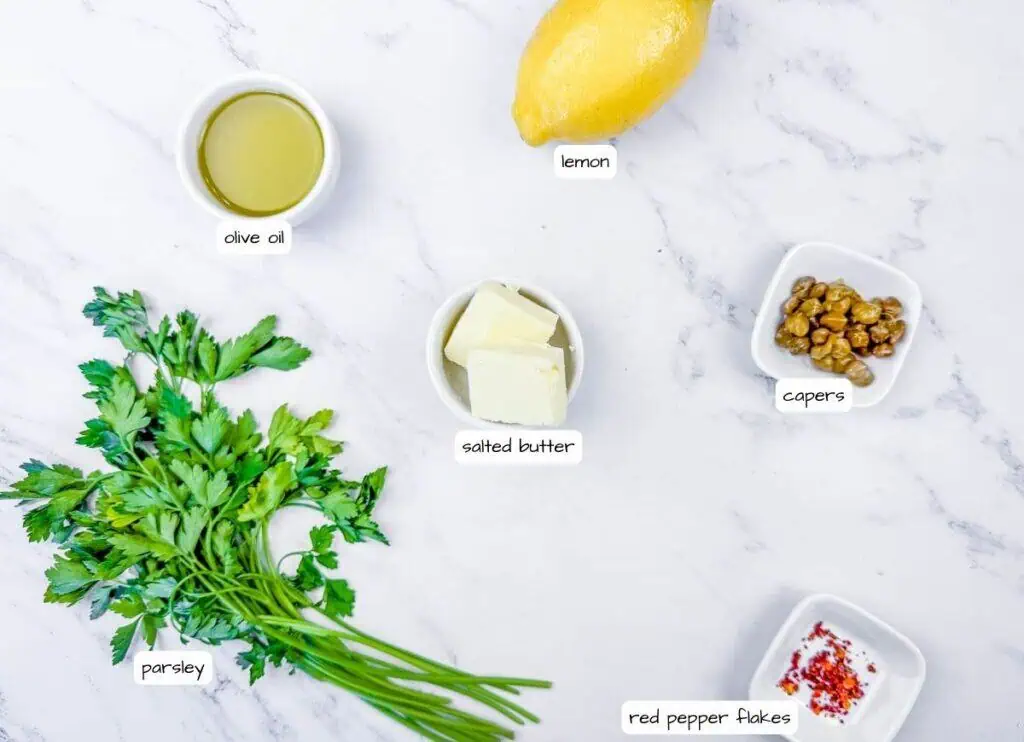
Lemon-butter pan sauce
- Parsley – Fresh parsley only. Dried parsley won’t add the same bright finish. Flat-leaf parsley has the best flavor. Add at the very end to keep it bright and green.
- Salted butter – I use salted butter. The butter is the base of this sauce, so quality matters. Unsalted butter works if you add a pinch of extra salt.
- Capers – Drain and rinse them before adding or the sauce will be too salty. Smaller nonpareil capers work best—they don’t need to be chopped.
- Olive oil – Use a good-quality olive oil. The sauce is simple, so quality matters.
- Fresh lemon juice – Fresh lemon juice only. Bottled lemon juice tastes flat and won’t brighten the sauce.
- Red pepper flakes – Crushed red pepper flakes. Adjust to taste—add more for extra heat or skip entirely if you’re sensitive to spice.
How To Make Pan-Fried Salmon Balls
Cut the salmon into chunks and pulse in a food processor until finely minced—don’t overdo it; you want small pieces, not paste. You can use a knife and chop it up, or blitz it in a food processor like this instead. This food processor is a workhorse, and has saved my bacon so many times! When pulsed, just transfer the chopped salmon to a mixing bowl.
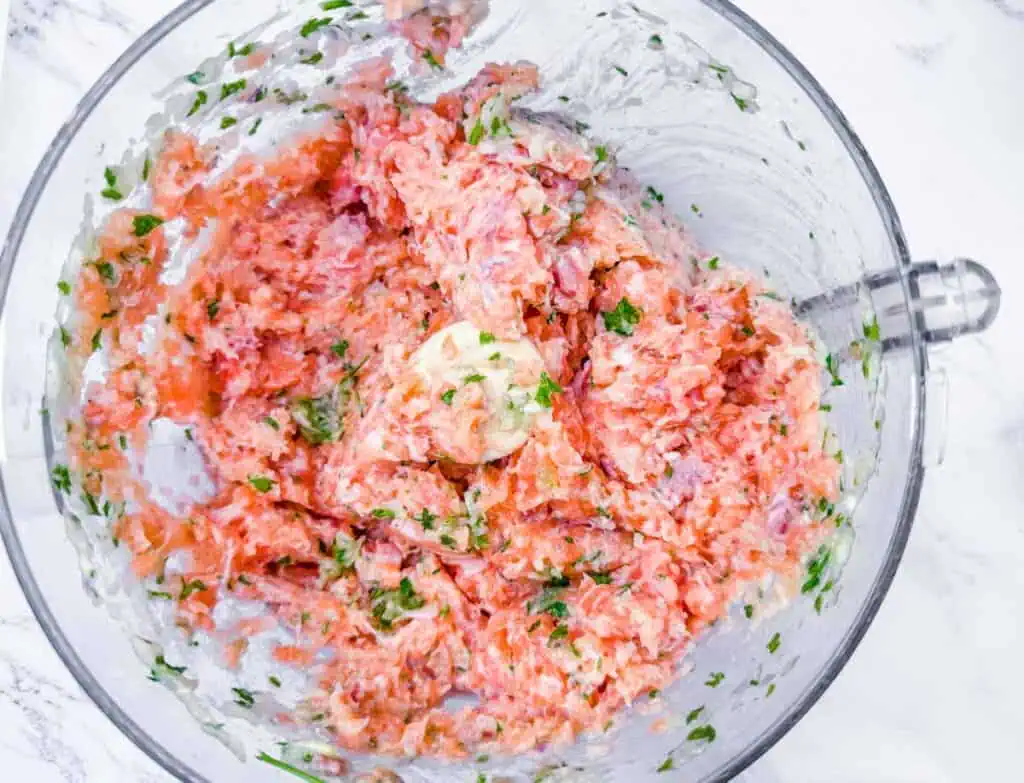
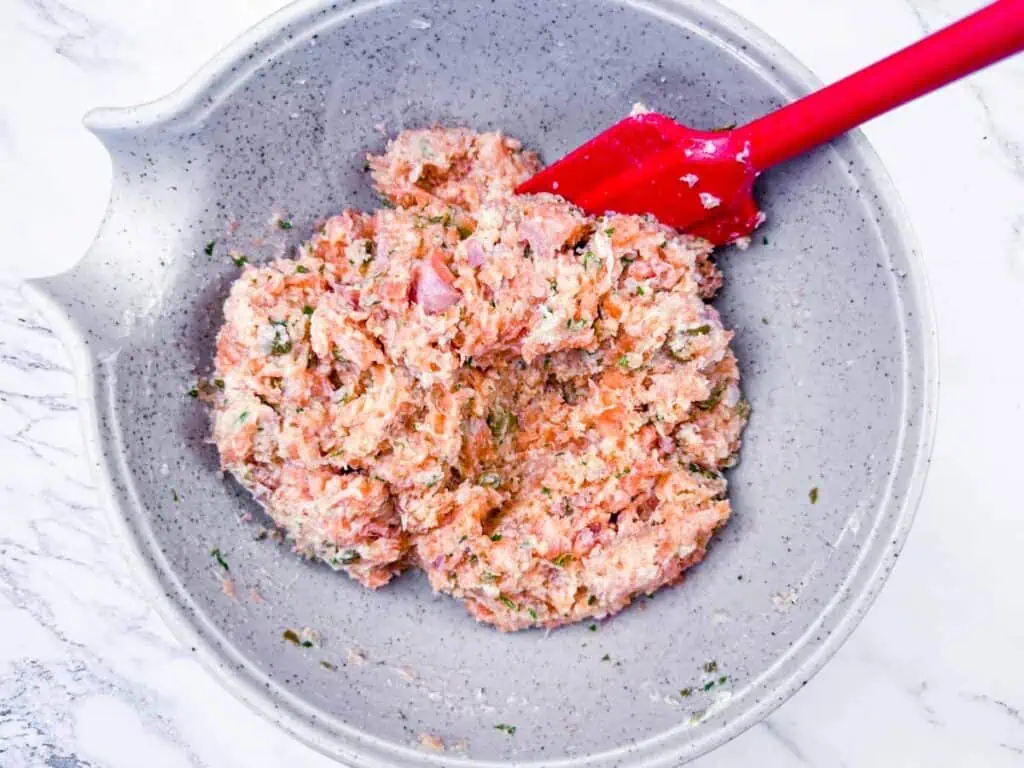
Next, stir in the Panko (they’re Japanese bread crumbs and have a great crunch), mayonnaise, shallots, parsley, capers, lemon juice, mustard, salt, and pepper. Mix gently until evenly combined. If the mixture is too loose, chill it or add a bit more Panko. You want it to hold the shape of a hockey puck.
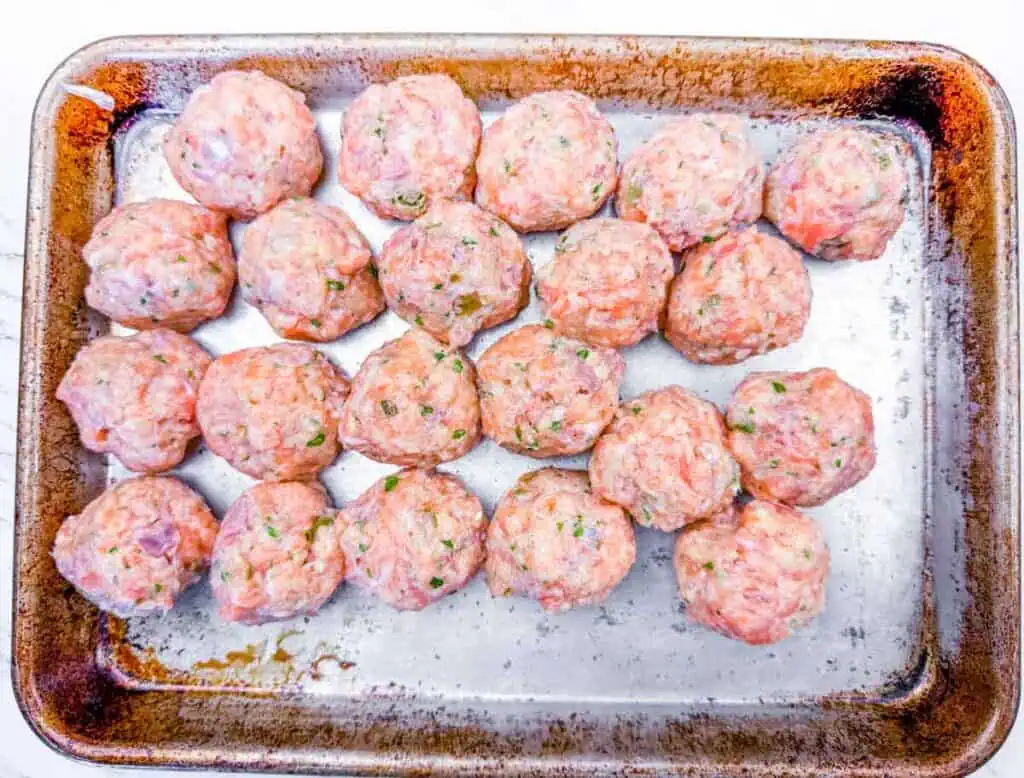
Refrigerate the mixture for about 30 minutes, then roll the mixture into 1.5-inch balls. Totally use a portion scoop to get even-sized balls. It’s a game changer in the kitchen and I use mine ALL the time! You should have about 20-24 balls.
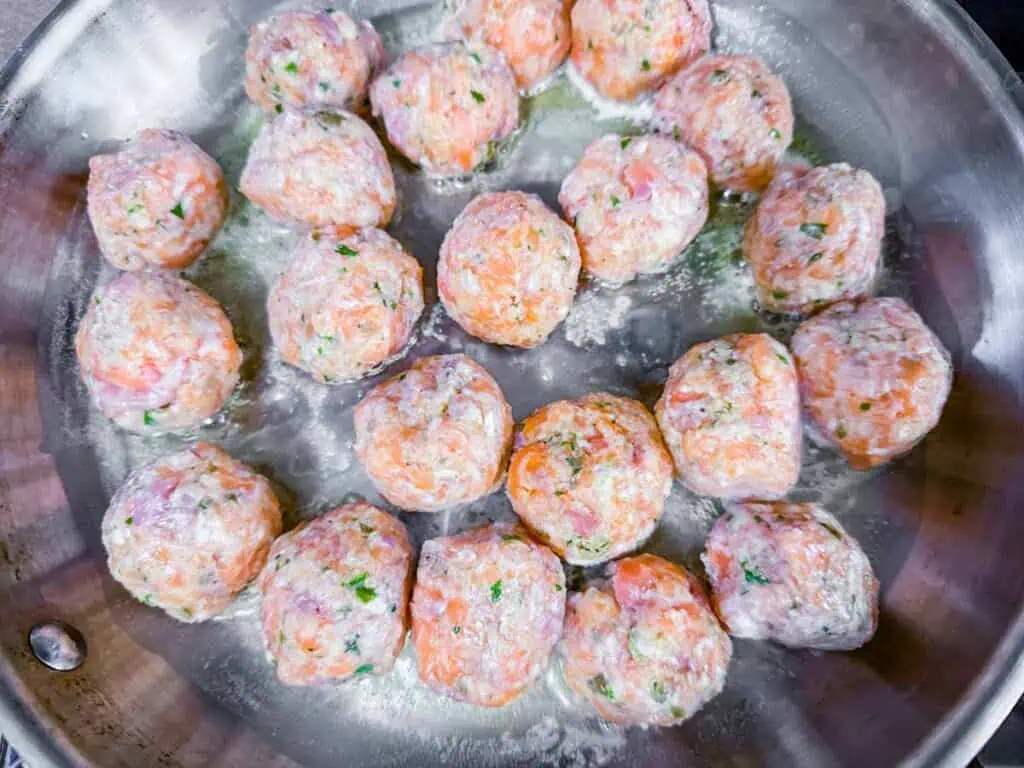
Heat the butter and oil over medium heat, and when hot but not smoking, fry the salmon balls in batches. Turn them every couple of minutes and brown each side. Cook for about 6-8 minutes in total, or until they reach 125-130°F inside. Transfer them to a paper towel-lined plate and drain.
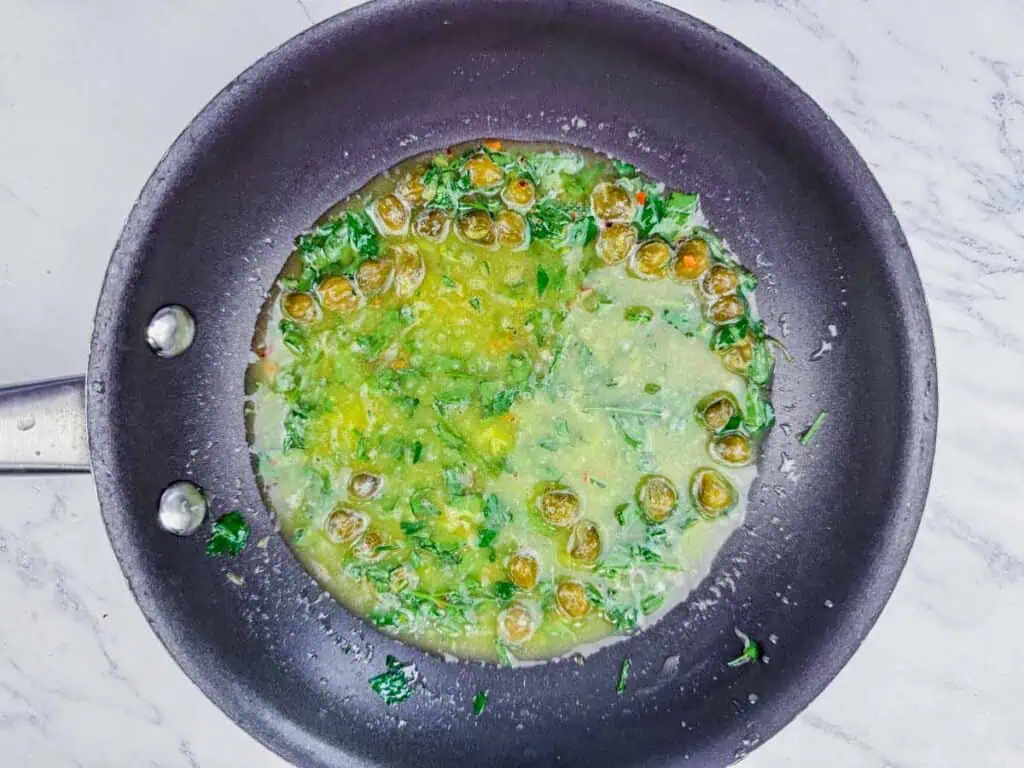
To make the pan sauce:
Melt butter in a small skillet over low heat. I’ve given up all non-stick pans and only use Hex-Clad now. Expensive? Yes, but these really do outlast non-stick. Once the butter is melted, stir in olive oil, parsley, capers, lemon juice, and a pinch of red pepper flakes. Spoon the sauce over the salmon balls just before serving.
Chef Jenn’s Tips
- Stick with fresh salmon for the best texture. Canned fish will be too wet and will need extra binders.
- Don’t skip chilling the mixture—it makes shaping and frying much easier.
- You can prep the balls in advance and keep them refrigerated for up to a day before cooking.
- Add dill or smoked paprika if you want to switch up the flavor, and use a microplane grater to add a bit of lemon zest to the top before serving. This microplane grater is just as good as the more expensive brands!
- Keep your heat at medium to avoid burning the outsides before the inside is cooked.
Make It A Meal
These go great on a salad, in a slider bun with aioli, or as part of a snack platter. They’re also nice with yogurt sauce or tucked into a wrap.
Storage
Keep leftovers in an airtight container in the fridge for up to 3 days. Reheat in my favorite skillet or oven until warmed through. To freeze, place uncooked balls on a tray until solid, then store in freezer bags. Cook from frozen, adding a few extra minutes.
Pan-Fried Salmon Balls
Ingredients
- 2 pounds fresh salmon skinless and deboned
- ¾ cup Panko bread crumbs
- 3 tablespoons mayonnaise
- ¼ cup shallots finely chopped
- 2 cloves garlic minced
- 2 tablespoons parsley chopped
- 1 tablespoon capers finely chopped
- 1 tablespoon fresh lemon juice
- 1 tablespoon Dijon mustard
- ¾ teaspoon salt
- ½ teaspoon ground pepper
- 2 tablespoons butter
- 2 tablespoons oil
Lemon-butter pan sauce
- 2 tablespoons salted butter
- 2 tablespoons parsley chopped
- 1 tablespoon capers
- 1 tablespoon olive oil
- 1 tablespoon fresh lemon juice
- 1 pinch red pepper flakes
Instructions
- Cut the salmon into chunks and pulse in a food processor until finely minced—don’t overdo it; you want small pieces, not paste.
- Move the chopped salmon to a mixing bowl.
- Stir in the Panko, mayonnaise, shallots, parsley, capers, lemon juice, mustard, salt, and pepper. Mix gently until evenly combined. If the mixture is too loose, chill it or add a bit more Panko.
- Refrigerate the mixture for at least 30 minutes to help it firm up.
- Roll the mixture into 1.5-inch balls. You should end up with about 20 to 24.
- Heat the butter and oil over medium. When the mixture is hot and sizzling (but not smoking), it's ready.
- Fry the salmon balls in batches. Turn every couple of minutes to brown each side. Cook for about 6–8 minutes total, or until they hit 125–130°F inside.
- Transfer to a paper towel–lined plate to drain.
Notes
Chef Jenn’s Tips
- Stick with fresh salmon for the best texture. Canned fish will be too wet and will need extra binders.
- Don’t skip chilling the mixture—it makes shaping and frying much easier.
- You can prep the balls in advance and keep them refrigerated for up to a day before cooking.
- Add dill or smoked paprika if you want to switch up the flavor.
- Keep your heat at medium to avoid burning the outsides before the inside is cooked.
Nutrition
A Note on Nutritional Information
Nutritional information for this recipe is provided as a courtesy and is calculated based on available online ingredient information. It is only an approximate value. The accuracy of the nutritional information for any recipe on this site cannot be guaranteed.